


What this worksheet helps children practise
Pick one top corner to start, put a dot on it, and move all the way around in one direction until you get back home!
Counting both sides and vertices together builds rock-solid geometric vocabulary right in first grade. Young learners often recognize a triangle, square, or rectangle by sight yet still confuse the straight outer edge of a shape (a side) with the sharp corner point where two edges meet (a vertex). By placing a clear pencil dot on every corner and making a small tick across each straight edge around the border, students discover firsthand that every closed polygon always has the exact same number of sides and vertices. For a related skill, use Pentagon, Hexagon, Heptagon, and Octagon: Identify Polygons with Basile: Count every straight side of each polygon, write the number of sides, and copy its matching polygon name.
Preparing a short session
Print the student worksheet at actual size (100%) on plain white letter or A4 paper without shrinking margins, and provide a sharpened pencil with a soft eraser. Before writing a single digit, read the directions aloud together and trace the worked diamond example beside Balthazar the turtle, pointing gently with one finger to its four dotted corners and four numbered straight sides from 1 to 4. Keep the separate answer key PDF tucked cleanly out of sight while your child works independently through all six cards.
A concrete example to get started
Inside the top example panel, a clear diamond acts as a ready-to-follow visual model for every polygon card below it. All four vertices are marked with crisp black dots right at the pointed corners, while each of the four straight sides carries a small perpendicular tick numbered 1 to 4. Beside the shape, the paired boxes display 4 sides and 4 vertices. Seeing both markings together gives first graders a simple, repeatable counting habit they can apply immediately to all six polygon cards on the sheet.
Supporting the activity
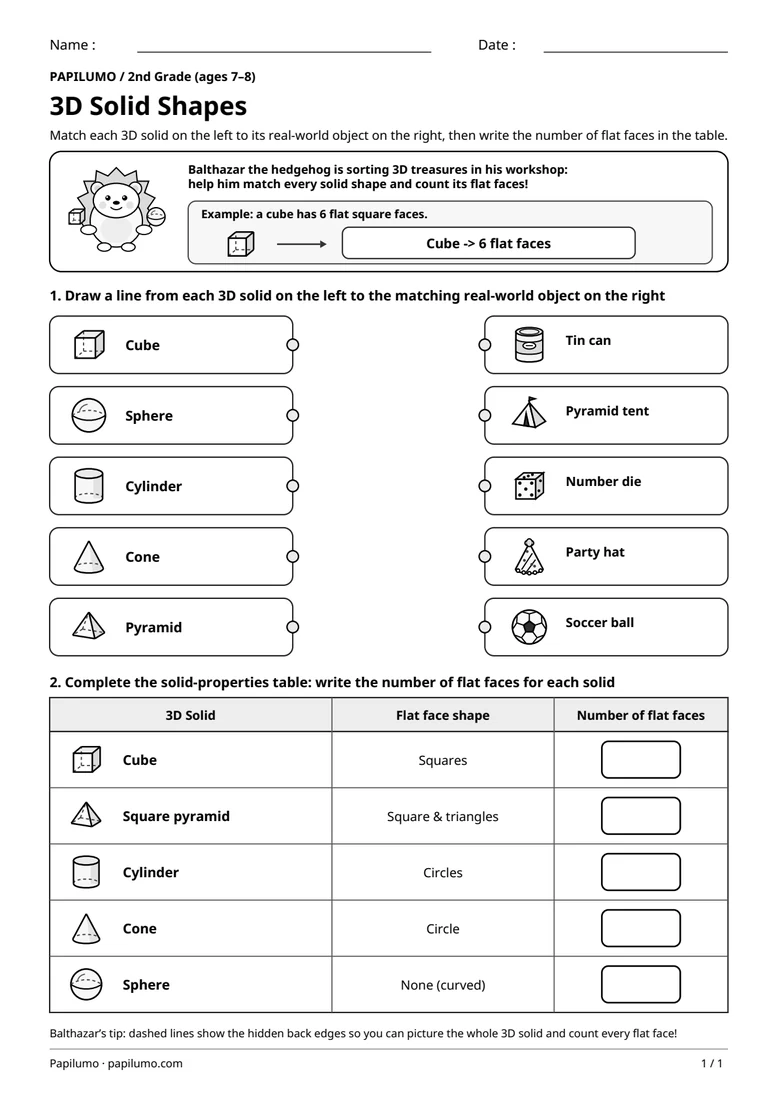
The main grid presents six spacious polygon cards labeled A through F in clear progression: Triangle (3 sides, 3 vertices), Square (4 sides, 4 vertices), and Rectangle (4 sides, 4 vertices) so children notice two different shapes can share identical counts. Next come Pentagon (5 sides, 5 vertices), Hexagon (6 sides, 6 vertices), and Octagon (8 sides, 8 vertices). Below the grid, an observation box contrasts a curved Circle (0 straight sides, 0 vertices) with a straight-edged Arrow (7 sides, 7 vertices) to reinforce the rule. To vary the practice, try 3D Solid Shapes: Match Objects and Count Flat Faces with Balthazar the Hedgehog: Match each 3D solid on the left to its real-world object on the right, then write the number of flat faces in the table.
What to notice and how to check
When reviewing with the separate answer key, check both the pencil dots placed on every vertex and all twelve numbers written in the boxes, paying special attention to the Hexagon (6) and Octagon (8) where fast counters sometimes skip or double-count an edge. If a student writes two different numbers for sides and vertices on the same polygon, gently ask them to start at the top corner and move clockwise around the border using tiny tick marks along each straight edge.
Making the task easier
Keep one finger on the starting vertex and add a tiny pencil tick across each side as you count aloud from 1.
Keep the learning aim, but reduce how much the child has to handle at once. Cover part of the page with another sheet and reveal one task at a time. Demonstrate a separate example, then leave a real opportunity to work something out. An answer reached with support is still a useful attempt; it does not yet show that the same task can be completed independently.
Taking the idea beyond the worksheet
Compare the circle and arrow at the bottom, then hunt for three flat shapes around the room (book, tile, door) and count their corners.
Use the follow-up to meet the same idea in a different setting. Offer it once the first task makes sense, without insisting that the whole page must be perfect. The child might explain a strategy, make an example or set a challenge for an adult. Return to the worksheet only when it helps connect the two situations. A short conversation or a practical activity can be enough to finish the session. To continue exploring, use Picture Shape Analogies with Zelie the Ferret: Look at how the first shape changes into the second, then circle choice (1), (2), or (3) that follows the exact same rule.
Downloading and printing the PDF
This free PDF contains one worksheet designed for A4 paper. Download the file using the button on this page and open it in your PDF reader. Choose actual size or a 100% scale, check the orientation in the print preview and turn off any browser headers or footers. The illustrations use vector lines, so their outlines stay sharp when printed. Check the margins on one copy before preparing several sheets for a group. The level shown on the page is a guide, rather than a requirement to complete the activity at a particular age.