

What this worksheet helps children practise
Say what happened to the first pair out loud (“flipped upside down!” or “dot in the middle!”) before you peek at the three choices.
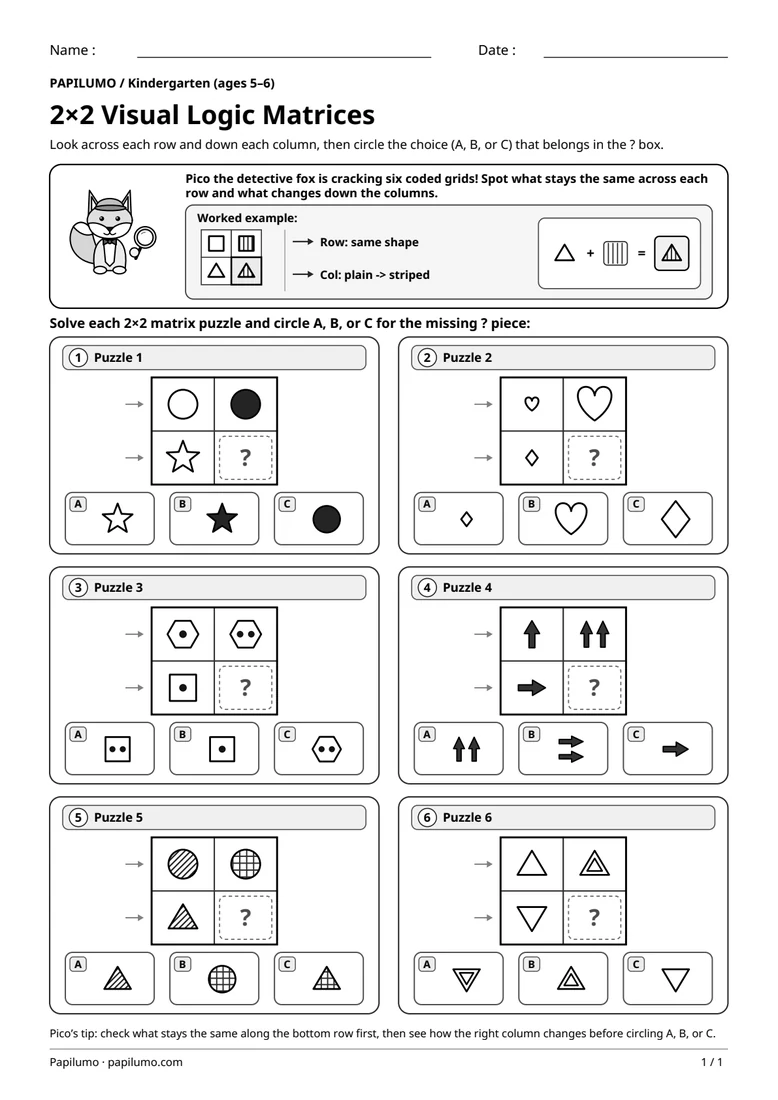
Working through picture shape analogies in first grade builds visual reasoning, spatial awareness, and careful attention to geometric attributes. Children practice identifying the single rule that changes between two shapes—such as shading one specific half, placing a smaller shape inside, flipping top to bottom, or doubling an outline—while preserving the identity of the new shape. This structured comparison strengthens early geometry vocabulary, fraction-ready partitioning, and pattern analysis skills that carry directly into math problem solving. For a related skill, use 2×2 Visual Logic Matrix Puzzles with Pico the Detective Fox: Look across each row and down each column, then circle the choice (A, B, or C) that belongs in the ? box.
Preparing a short session
Print the student worksheet at actual size (100%) on plain white letter or A4 paper without shrinking margins, and provide a sharpened pencil and eraser. Before circling any answer, read the directions aloud together and talk through the worked example beside Zelie the ferret: the blank circle splits down the middle with its left side shaded gray, so the blank square splits down the middle with its left side shaded gray too. Keep the separate PDF answer key tucked away until your child finishes all six rows.
A concrete example to get started
In the shaded example box at the top of the sheet, learners see a blank circle pointing to a vertically split circle shaded on the left, paired with a blank square pointing to a vertically split square shaded on the left. That concrete model establishes a reliable two-step detective habit: first name what happened to the opening pair in clear everyday language, then test each of the three framed options on the right to see which figure applies the exact same change without altering any other detail.
Supporting the activity
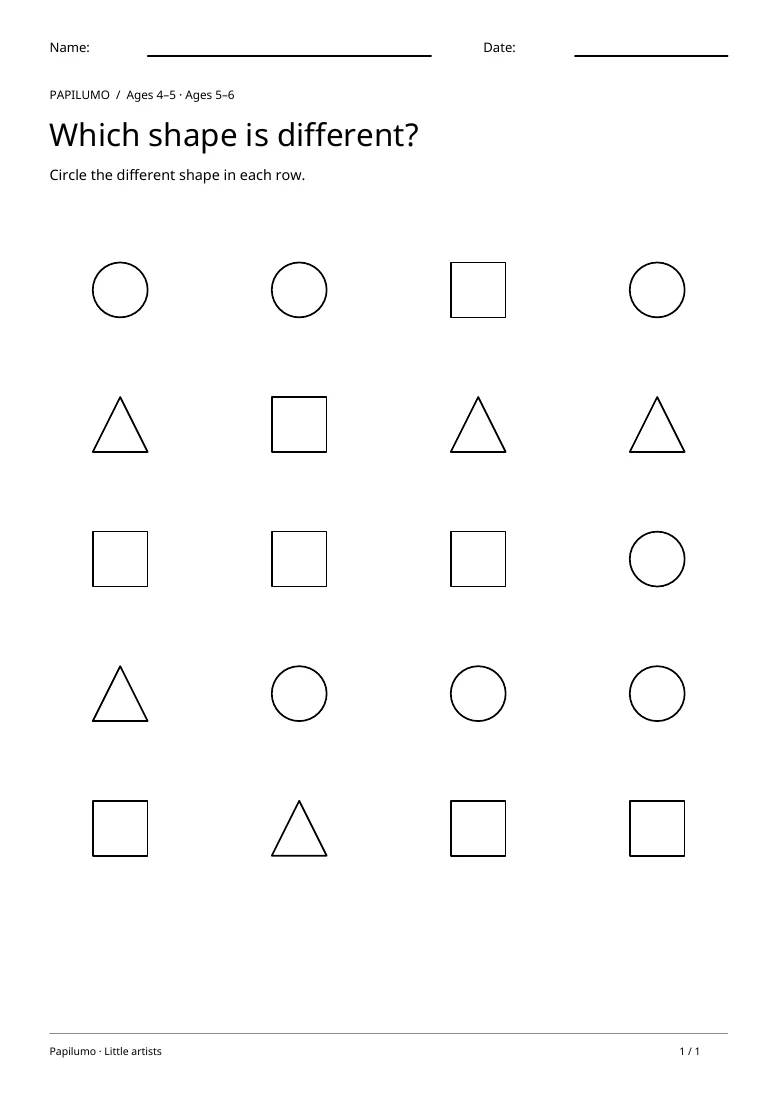
Each of the six rows highlights a distinct, kid-friendly geometric rule. Row 1 applies a vertical split with the left half shaded from a triangle to a regular hexagon (choice 2). Row 2 adds a small solid dot centered inside a square and then inside a triangle (choice 3). Row 3 flips the shape upside down from an upright triangle to a trapezoid (choice 1). Row 4 draws a double concentric outline for a circle and then a diamond (choice 2). Row 5 divides a square and diamond with X-diagonals and shades the top quarter (choice 1). Row 6 shades the bottom half of a rectangle and pentagon (choice 3). To vary the practice, try Odd One Out Shapes Worksheet: Circle the different shape in each row.
What to notice and how to check
When checking work against the separate answer key, ask your child to explain not only which choice they circled, but also why the other two options fail the rule. Most slips happen when left and right shading are swapped in Row 1, top and bottom halves are reversed in Row 6, or a wrong inner shape catches the eye in Row 2. Having the student trace the rule with one finger on the first pair usually clears up any visual mix-up right away.
Making the task easier
Cover the three right-hand choices with a strip of paper for ten seconds and picture the answer in your head first.
Keep the learning aim, but reduce how much the child has to handle at once. Cover part of the page with another sheet and reveal one task at a time. Demonstrate a separate example, then leave a real opportunity to work something out. An answer reached with support is still a useful attempt; it does not yet show that the same task can be completed independently.
Taking the idea beyond the worksheet
Draw two new shape analogies of your own on scrap paper using a star, oval, or arrow and challenge a friend to solve them.
Use the follow-up to meet the same idea in a different setting. Offer it once the first task makes sense, without insisting that the whole page must be perfect. The child might explain a strategy, make an example or set a challenge for an adult. Return to the worksheet only when it helps connect the two situations. A short conversation or a practical activity can be enough to finish the session. To continue exploring, use Color and Write Fifths & Eighths Fractions with Mina: Shade the matching parts in shapes A–D, then count the shaded parts in E–F and write each fraction.
Downloading and printing the PDF
This free PDF contains one worksheet designed for A4 paper. Download the file using the button on this page and open it in your PDF reader. Choose actual size or a 100% scale, check the orientation in the print preview and turn off any browser headers or footers. The illustrations use vector lines, so their outlines stay sharp when printed. Check the margins on one copy before preparing several sheets for a group. The level shown on the page is a guide, rather than a requirement to complete the activity at a particular age.