


What this worksheet helps children practise
An answer of 40 before 50 shows a step of ten instead of one. Use a number chart and move a finger only one place. If the child writes 310 after 39, count 38, 39, 40 aloud and discuss making the next ten. Ask for an oral answer before correcting a reversed written digit; numeral formation and number order are different skills.
The activity practices immediate number neighbors rather than any smaller or larger number. It suits first graders who already recognize two-digit numbers. The centers 39, 50, 79 and 90 require crossing a ten in one direction. Children connect counting forward and backward by one with the position of each number. A correct answer must be exactly one away from the given number. For a related skill, use Before and after numbers to 10: Write the number just before on the left and the number just after on the right.
Preparing a short session
Print at actual size and provide a pencil. Keep the answer key out of sight until checking time. Read a few middle numbers together before writing. A number line or number chart can support a first guided attempt. Cover later rows if the full page feels distracting. The book outlines are writing spaces; there is no cutting or pasting.
A concrete example to get started
The middle book in the example shows 30. Moving back one gives 29, and moving forward one gives 31. Read the complete row from left to right. Although both digits change from 29 to 30, the difference is still one. The completed example also shows that the smaller neighbor belongs on the left and the larger neighbor belongs on the right.
Supporting the activity
Work on one shelf at a time. Read the middle number, say the number just before it, then say the number just after it. Write both neighbors inside the empty books. The eight centers are 14, 27, 39, 50, 68, 79, 90 and 98. They are separate questions, not a sequence to continue down the page. Reread each completed row in counting order. To vary the practice, try Missing numbers 51 to 100: complete the chart: Write the missing numbers. Count on by 1 across each row.
What to notice and how to check
The correct rows are 13–14–15, 26–27–28, 38–39–40, 49–50–51, 67–68–69, 78–79–80, 89–90–91 and 97–98–99. The separate answer key fills all sixteen missing numbers. Ask the child to explain a row that crosses a ten. Check whether the answer is one away, not merely whether it is larger or smaller.
Making the task easier
Begin with 14 and 27. Ask for the number after first, then return to the number before. Let the child check a chart and cover it for another attempt. Two carefully explained rows can be enough for a short practice session.
Keep the learning aim, but reduce how much the child has to handle at once. Cover part of the page with another sheet and reveal one task at a time. Demonstrate a separate example, then leave a real opportunity to work something out. An answer reached with support is still a useful attempt; it does not yet show that the same task can be completed independently.
Taking the idea beyond the worksheet
Choose a new middle number from 11 to 98 and let the child design a shelf for an adult to solve. Later, compare a step of one with a step of ten from the same starting number. Keep that comparison separate from this worksheet so the rule stays clear.
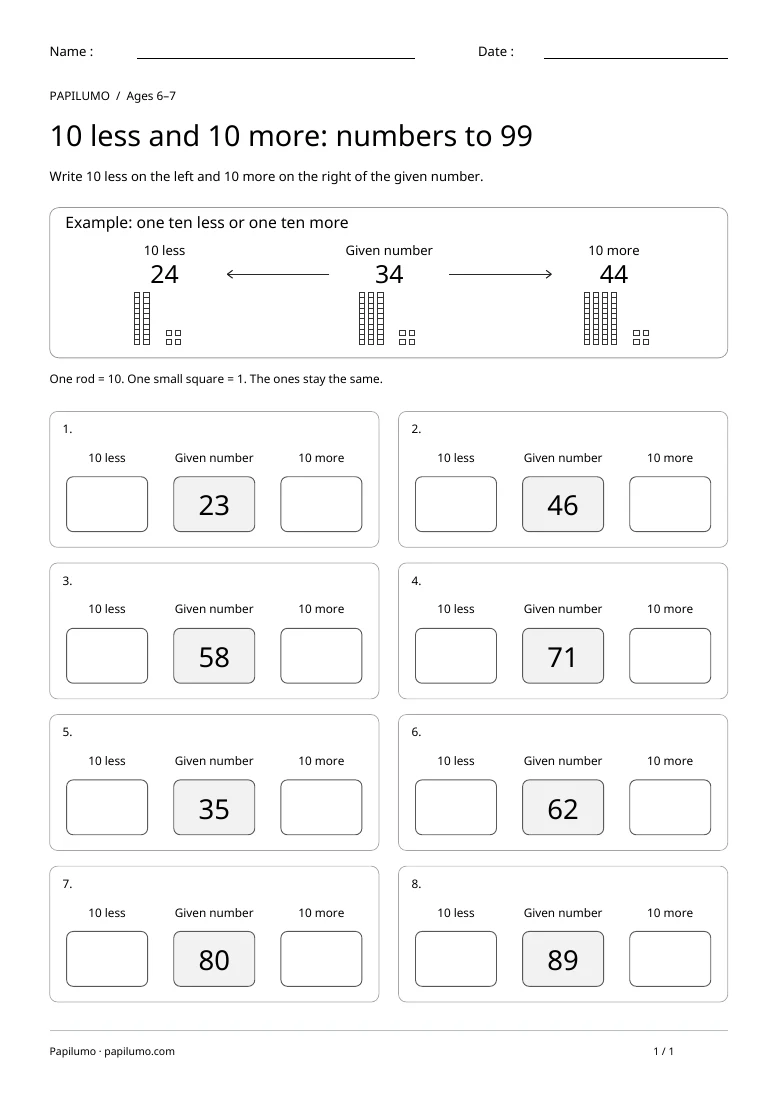
Use the follow-up to meet the same idea in a different setting. Offer it once the first task makes sense, without insisting that the whole page must be perfect. The child might explain a strategy, make an example or set a challenge for an adult. Return to the worksheet only when it helps connect the two situations. A short conversation or a practical activity can be enough to finish the session. To continue exploring, use 10 less and 10 more: numbers to 99: Write 10 less on the left and 10 more on the right of the given number.
Downloading and printing the PDF
This free PDF contains one worksheet designed for A4 paper. Download the file using the button on this page and open it in your PDF reader. Choose actual size or a 100% scale, check the orientation in the print preview and turn off any browser headers or footers. The illustrations use vector lines, so their outlines stay sharp when printed. Check the margins on one copy before preparing several sheets for a group. The level shown on the page is a guide, rather than a requirement to complete the activity at a particular age.