

What this worksheet helps children practise
Spot the two matching numbers first, double them in your head, then add the leftover digit!
Adding three addends in the smartest order relies on two foundational 2nd grade properties: commutativity and associativity. Instead of grinding slowly from left to right, students scan all three digits, spot a matching pair, and recall a memorized double immediately (5 + 5 = 10, 6 + 6 = 12, 7 + 7 = 14, 8 + 8 = 16, or 9 + 9 = 18). That single move turns a three-step chain into one crisp two-digit-plus-one-digit addition that builds fluency, accuracy, and genuine number-sense flexibility. For a related skill, use Addition Doubles Facts 6 to 10 with Nila the Twin Butterfly: Count the matching halves on each picture card to write the sum, then solve all six quick doubles and missing-addend facts.
Preparing a short session
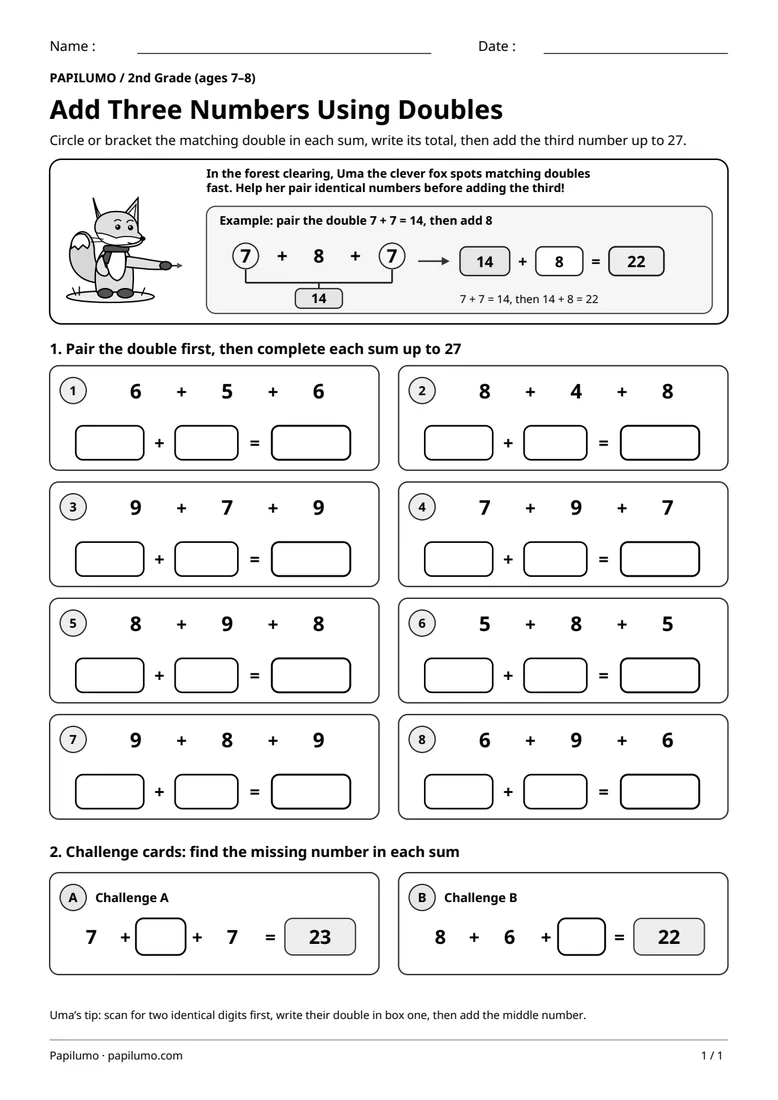
Print the student page at actual size (100%) on plain white A4 or letter paper without shrinking margins, and hand your child a sharpened pencil with a soft eraser. Keep the separate one-page answer key tucked out of sight while solving. Before filling in the first box, inspect Uma the clever fox’s top banner together: trace her paw pointing straight to the bracket joining both 7s in 7 + 8 + 7 to make 14, then read 14 + 8 = 22 aloud.
A concrete example to get started
Inside the top example panel, Uma highlights the exact shortcut that unlocks the whole worksheet: in 7 + 8 + 7, the two 7s sit apart at the ends, yet pairing them gives a familiar double of 14. Once that bracket is drawn, the three-number string simplifies cleanly into [14] + [8] = [22]. Every Part 1 card mirrors that exact three-box layout ([pair total] + [remaining] = [final total]) so young learners internalize the two-step strategy automatically.
Supporting the activity
In Part 1, learners bracket or circle each double and fill eight three-box cards up to 27: 6 + 5 + 6 becomes 12 + 5 = 17; 8 + 4 + 8 becomes 16 + 4 = 20; 9 + 7 + 9 becomes 18 + 7 = 25; 7 + 9 + 7 becomes 14 + 9 = 23; 8 + 9 + 8 becomes 16 + 9 = 25; 5 + 8 + 5 becomes 10 + 8 = 18; 9 + 8 + 9 becomes 18 + 8 = 26; and 6 + 9 + 6 becomes 12 + 9 = 21. In Part 2, two challenge cards reverse the puzzle: 7 + [9] + 7 = 23 (from 14 + 9 = 23) and 8 + 6 + [8] = 22 (from 16 + 6 = 22). To vary the practice, try Column Addition of Four 1-Digit Numbers with Uma: Draw curved links on the right to pair friendly numbers, write each pair sum, then write the final total at the bottom.
What to notice and how to check
When checking against the separate one-page PDF answer key, confirm first that your child bracketed or circled the double on every Part 1 card, then verify both intermediate and final sums. If an answer misses by one on 16 + 9 or 18 + 7, ask which double came first and review bridging ten. On Challenge B, read 8 + 6 + 8 forward to confirm 22.
Making the task easier
Draw a neat bracket or circle around the two identical digits before writing anything in the boxes.
Keep the learning aim, but reduce how much the child has to handle at once. Cover part of the page with another sheet and reveal one task at a time. Demonstrate a separate example, then leave a real opportunity to work something out. An answer reached with support is still a useful attempt; it does not yet show that the same task can be completed independently.
Taking the idea beyond the worksheet
Write two new three-number sums containing a double from 5 to 9 and challenge a partner to solve them.
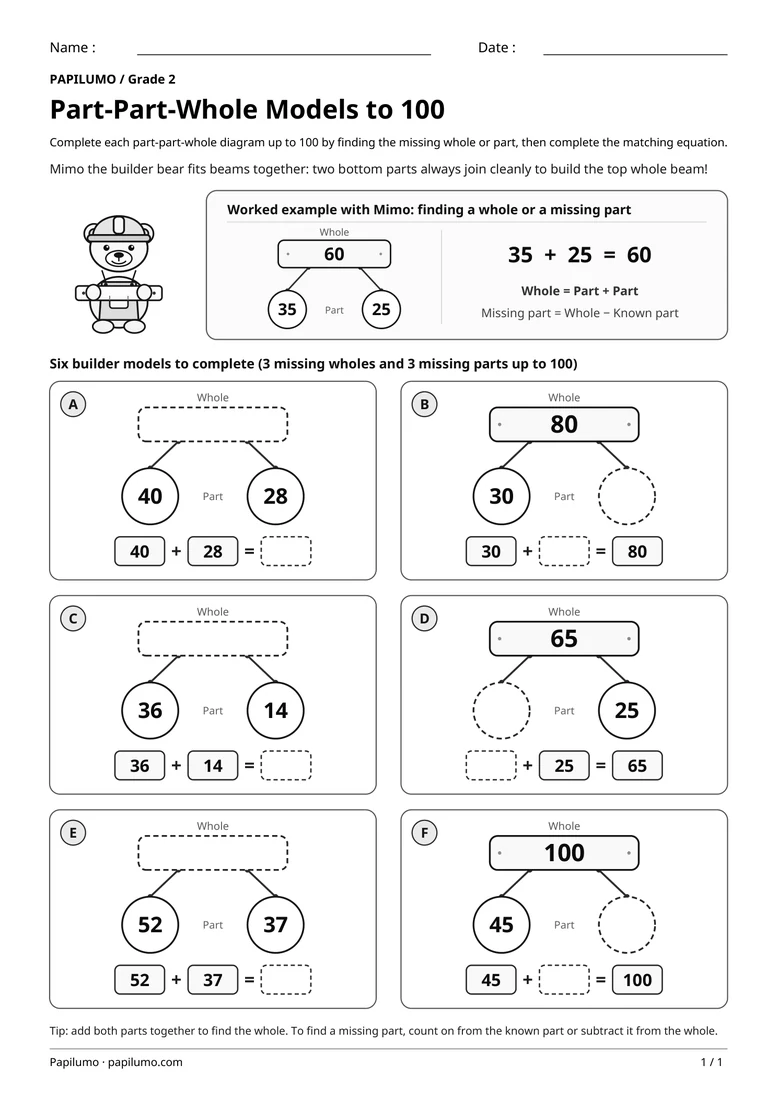
Use the follow-up to meet the same idea in a different setting. Offer it once the first task makes sense, without insisting that the whole page must be perfect. The child might explain a strategy, make an example or set a challenge for an adult. Return to the worksheet only when it helps connect the two situations. A short conversation or a practical activity can be enough to finish the session. To continue exploring, use Part-Part-Whole Models to 100 with Mimo the Builder Bear: Complete each part-part-whole diagram up to 100 by finding the missing whole or part, then complete the matching equation.
Downloading and printing the PDF
This free PDF contains one worksheet designed for A4 paper. Download the file using the button on this page and open it in your PDF reader. Choose actual size or a 100% scale, check the orientation in the print preview and turn off any browser headers or footers. The illustrations use vector lines, so their outlines stay sharp when printed. Check the margins on one copy before preparing several sheets for a group. The level shown on the page is a guide, rather than a requirement to complete the activity at a particular age.