

What this worksheet helps children practise
Look at one half first, then double it: 9 + 9 is two tens minus 2, which lands right on 18!
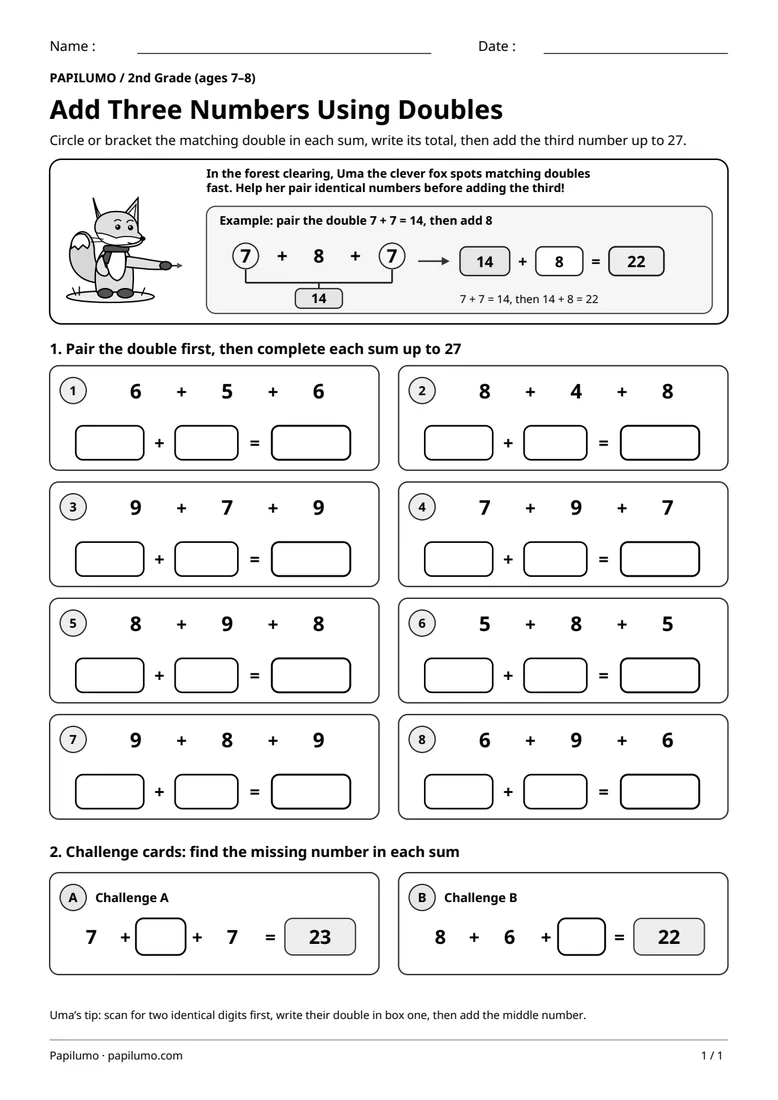
Building instant recall of doubles facts from 6 + 6 = 12 through 10 + 10 = 20 is a cornerstone of 1st grade mental arithmetic. Once sums cross ten, many children fall back on slow counting by ones, which makes multi-step addition tiring. Structured mirror models—ladybug spots, domino halves, eight-legged spiders, twin ten-frames, and pairs of hands—anchor each fact in a clear picture of two equal groups. Automatic doubles also unlock near-doubles (such as 7 + 8) and subtraction halves within twenty later in the year. For a related skill, use Add Three Single-Digit Numbers Using Doubles: Circle or bracket the matching double in each sum, write its total, then add the third number up to 27.
Preparing a short session
Print the student worksheet at 100% actual size on plain white letter or A4 paper without scaling margins, and keep a sharpened pencil with an eraser nearby. Before writing any answers, invite your child to touch the six spots on Nila’s left wing and the six matching spots on her right wing while saying 6 + 6 = 12 aloud together. Set the separate one-page answer key aside out of sight so the student relies on the pictures and equal-halves pattern to find every answer independently.
A concrete example to get started
Inside the top example box next to Nila the twin butterfly, learners immediately see what defines every doubles fact: two completely equal parts combined into one total. Six spots on the left wing pair with six identical spots on the right wing to make 6 + 6 = 12. That clear visual rule carries straight into Part 2: whenever a target sum such as 18 or 16 is already given, the two blank boxes before the equals sign must hold the exact same number twice.
Supporting the activity
In Part 1, students examine five mirror cards and fill in each sum: matching ladybug wings show 6 + 6 = [12], a split domino reveals 7 + 7 = [14], two eight-legged spiders picture 8 + 8 = [16], twin ten-frames display 9 + 9 = [18], and two pairs of open hands total 10 + 10 = [20]. In Part 2, six fluency cards mix forward sums and missing equal addends: 7 + 7 = [14], [9] + [9] = 18, 6 + 6 = [12], [8] + [8] = 16, 10 + 10 = [20], and [6] + [6] = 12. To vary the practice, try Ten Frame Worksheet: How Many More to Make 10?: Count the dots and write how many more make 10.
What to notice and how to check
When reviewing with the separate PDF answer key, confirm that all fourteen blank boxes are neatly filled and that every missing-addend pair uses the exact same digit twice (such as 9 + 9 for 18, never 10 + 8). If a larger double like 8 + 8 or 9 + 9 still takes time, guide your child back to the visual card above—seeing one empty square in each ten-frame makes 9 + 9 easy to spot as 20 take away 2, giving 18 quickly.
Making the task easier
Spot a group of 5 inside each side first (5 + 1 for 6, or 5 + 2 for 7) before adding the two halves together.
Keep the learning aim, but reduce how much the child has to handle at once. Cover part of the page with another sheet and reveal one task at a time. Demonstrate a separate example, then leave a real opportunity to work something out. An answer reached with support is still a useful attempt; it does not yet show that the same task can be completed independently.
Taking the idea beyond the worksheet
Pick one double from the sheet and draw your own twin-wing insect or domino showing both equal halves.
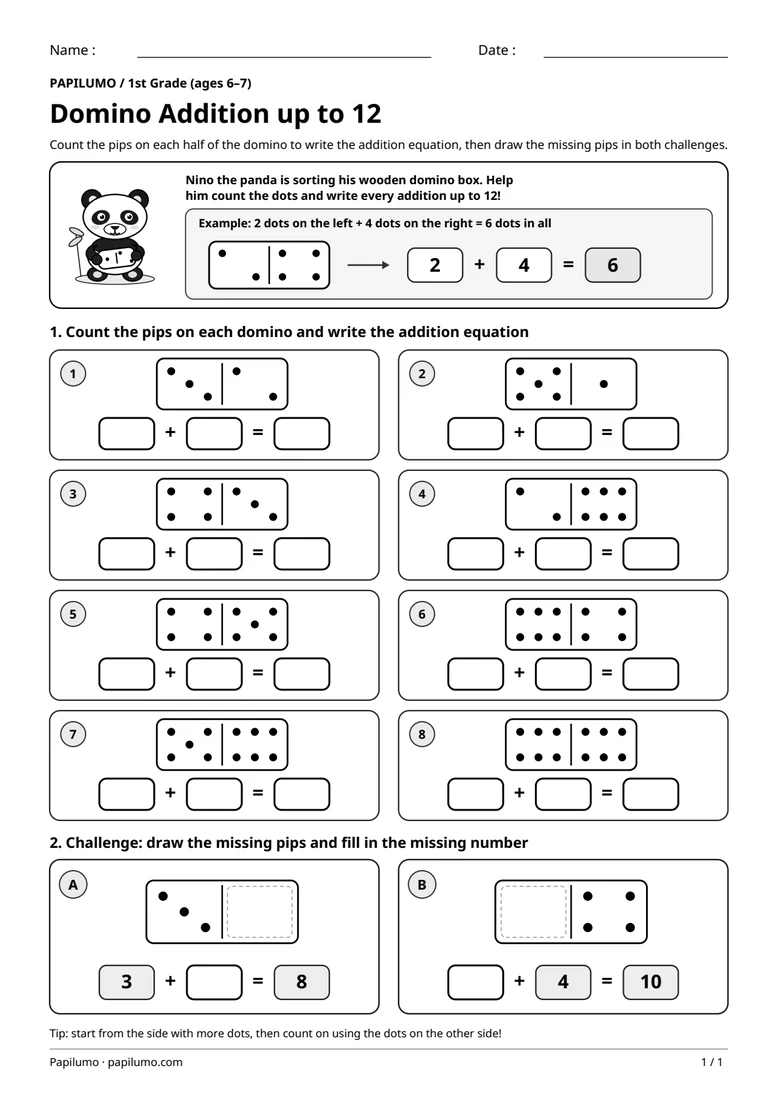
Use the follow-up to meet the same idea in a different setting. Offer it once the first task makes sense, without insisting that the whole page must be perfect. The child might explain a strategy, make an example or set a challenge for an adult. Return to the worksheet only when it helps connect the two situations. A short conversation or a practical activity can be enough to finish the session. To continue exploring, use Domino Addition up to 12 with Nino the Panda: Count the pips on each half of the domino to write the addition equation, then draw the missing pips in both challenges.
Downloading and printing the PDF
This free PDF contains one worksheet designed for A4 paper. Download the file using the button on this page and open it in your PDF reader. Choose actual size or a 100% scale, check the orientation in the print preview and turn off any browser headers or footers. The illustrations use vector lines, so their outlines stay sharp when printed. Check the margins on one copy before preparing several sheets for a group. The level shown on the page is a guide, rather than a requirement to complete the activity at a particular age.