
What this worksheet helps children practise
Keep your grip light and let your fingers glide smoothly from tall to short loops without stopping mid-curve!
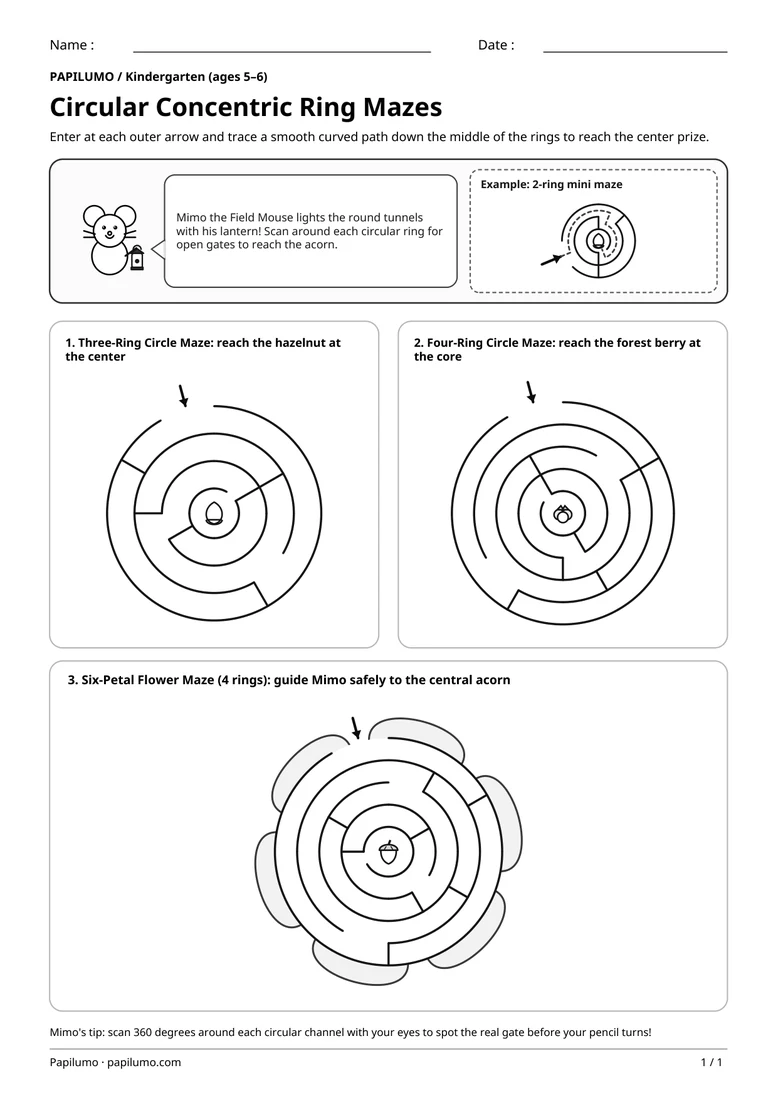
Controlling vertical height contrast between tall and short loops alongside descending under-loops is a milestone pre-writing skill before first-grade cursive handwriting. Practicing along clear sky, grass, baseline, and earth guidelines teaches five- and six-year-olds to flex their fingers cleanly without tensing the shoulder, crossing neatly back at the baseline every single time. Gradually fading dotted loop curves on the left into start and turn anchor dots on the right fosters independent motor memory, while horizontal figure-8 ribbons synchronize smooth left-right directional reversals without ever lifting the pencil. For a related skill, use Circular Concentric Ring Mazes: Guide Mimo to the Center (Kindergarten): Enter at each outer arrow and trace a smooth curved path down the middle of the rings to reach the center prize.
Preparing a short session
Print the student worksheet at actual size (100%) on crisp white A4 paper and sit together at a bright, uncluttered table with a sharpened standard graphite pencil or smooth erasable pen. Keep the separate one-page answer key PDF neatly set aside during practice. Before drawing, look closely at the sky, grass, baseline, and earth rails together, noting how tall loops kiss the top sky line while short loops pause cleanly at the grass midline. Invite your child to trace one figure-8 skating ribbon slowly in the air first.
A concrete example to get started
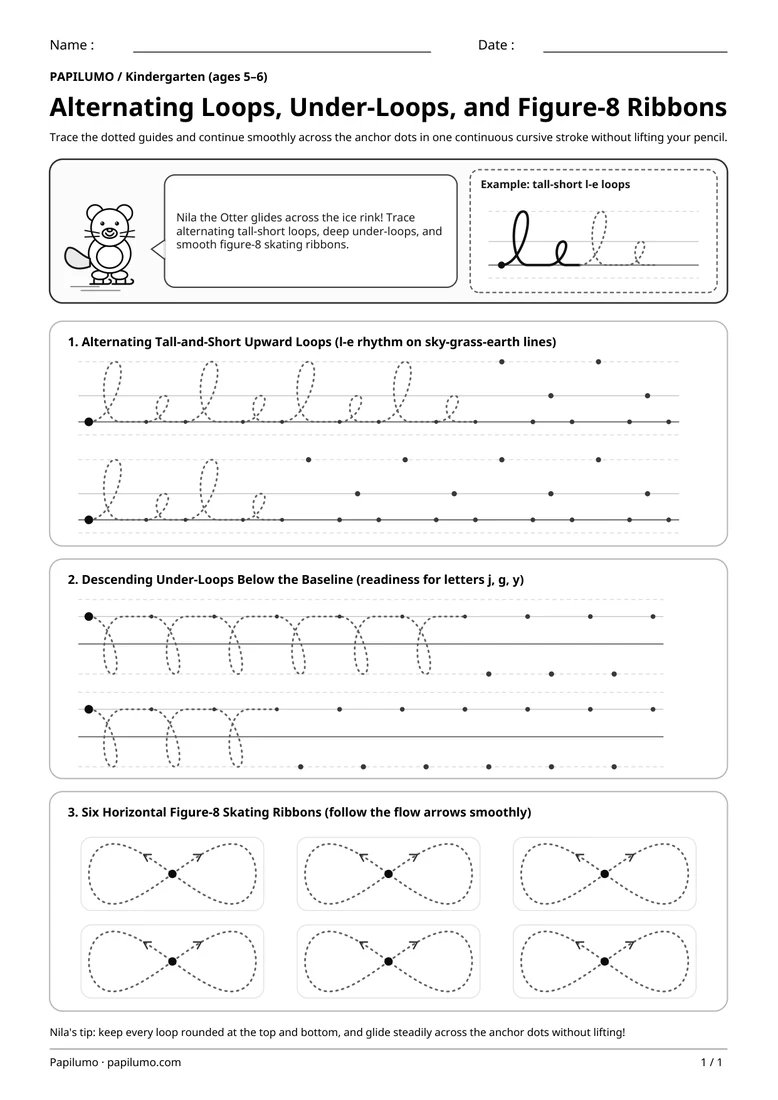
Inside the rounded top banner beside Nila gliding on her ice skates, a friendly speech bubble introduces the skating challenge right next to a worked tall-short alternating loop model drawn across sky-grass-earth guidelines. Solid black continuous strokes clearly demonstrate one tall loop climbing all the way to the sky rail followed smoothly by one compact loop reaching the grass midline, while dotted follow-up loops prepare the next turn. Young writers immediately recognize the rhythmic tall-short-tall-short spacing before tackling the practice rows below.
Supporting the activity
Three spacious, uncluttered sections provide two full practice rows each across the worksheet. In Section 1, children trace two continuous rows of alternating tall-and-short upward loops (l-e rhythm) that fade gradually from complete dotted paths on the left to crisp turn and baseline anchor dots on the right. In Section 2, two ruled rows practice smooth descending under-loops dipping gracefully below the baseline and rising steadily back up. In Section 3, six large horizontal figure-8 skating ribbons feature clear directional flow arrows for uninterrupted loops. To vary the practice, try One-Stroke Continuous Dot-to-Dot Figures Without Lifting the Pencil (Kindergarten): Begin at the circled START dot, follow the hint arrow, and trace each whole figure in one continuous stroke without retracing any line.
What to notice and how to check
When all six practice rows are finished, place the separate solid-stroke answer key beside your child's sheet to review smooth cursive flow together calmly. Check gently that tall loops reach the upper sky line while short loops stay tidy at mid-height, that every descending under-loop curves gracefully into the lower earth zone and crosses cleanly on the baseline, and that all six figure-8 ribbons stay nicely rounded at both ends without sharp corners. Praise steady, relaxed pencil control and smooth breathing across the whole page, then invite your child to highlight their smoothest ribbon.
Making the task easier
Trace each row first with your index finger while whispering tall, short, tall, short to set a calm, even rhythm.
Keep the learning aim, but reduce how much the child has to handle at once. Cover part of the page with another sheet and reveal one task at a time. Demonstrate a separate example, then leave a real opportunity to work something out. An answer reached with support is still a useful attempt; it does not yet show that the same task can be completed independently.
Taking the idea beyond the worksheet
On lined paper, try linking real l-e-l-e cursive loops or drawing three extra horizontal figure-8 ribbons smaller and smaller.
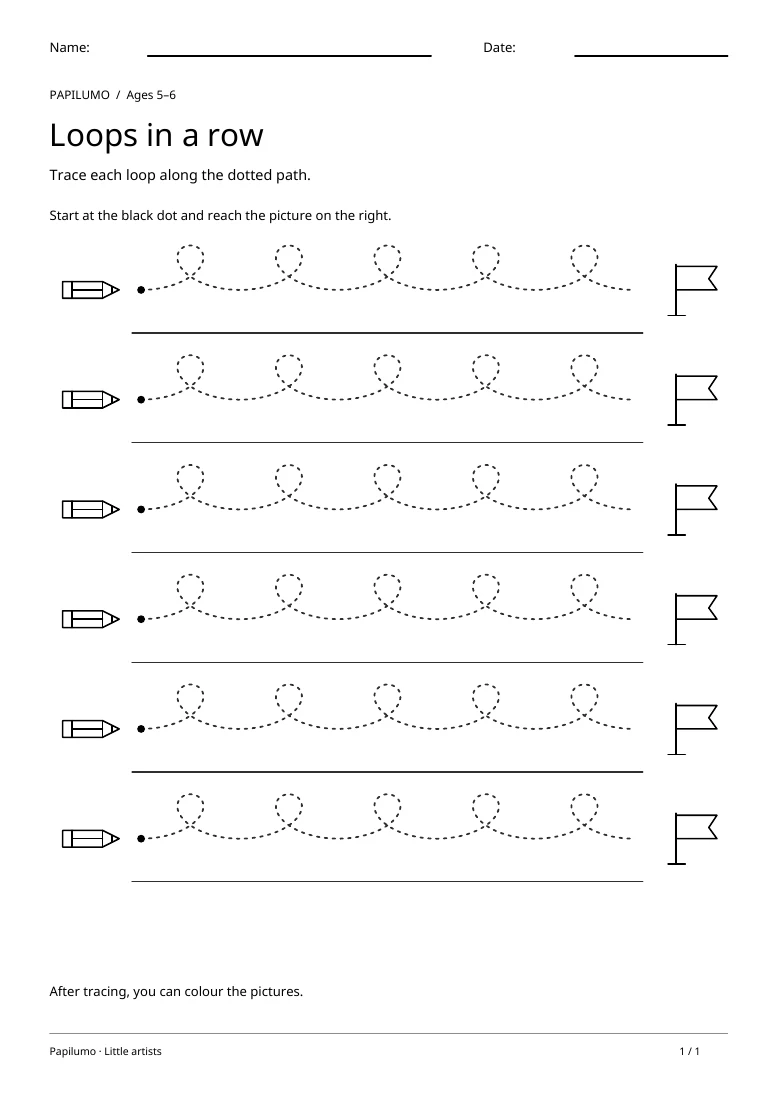
Use the follow-up to meet the same idea in a different setting. Offer it once the first task makes sense, without insisting that the whole page must be perfect. The child might explain a strategy, make an example or set a challenge for an adult. Return to the worksheet only when it helps connect the two situations. A short conversation or a practical activity can be enough to finish the session. To continue exploring, use Loop Tracing Worksheet for Kindergarten: Trace each loop along the dotted path.
Downloading and printing the PDF
This free PDF contains one worksheet designed for A4 paper. Download the file using the button on this page and open it in your PDF reader. Choose actual size or a 100% scale, check the orientation in the print preview and turn off any browser headers or footers. The illustrations use vector lines, so their outlines stay sharp when printed. Check the margins on one copy before preparing several sheets for a group. The level shown on the page is a guide, rather than a requirement to complete the activity at a particular age.