
What this worksheet helps children practise
Draw all outer and inner cube edges neatly with a ruler from the bold starting dot first, then fill each face’s hatch pattern last!
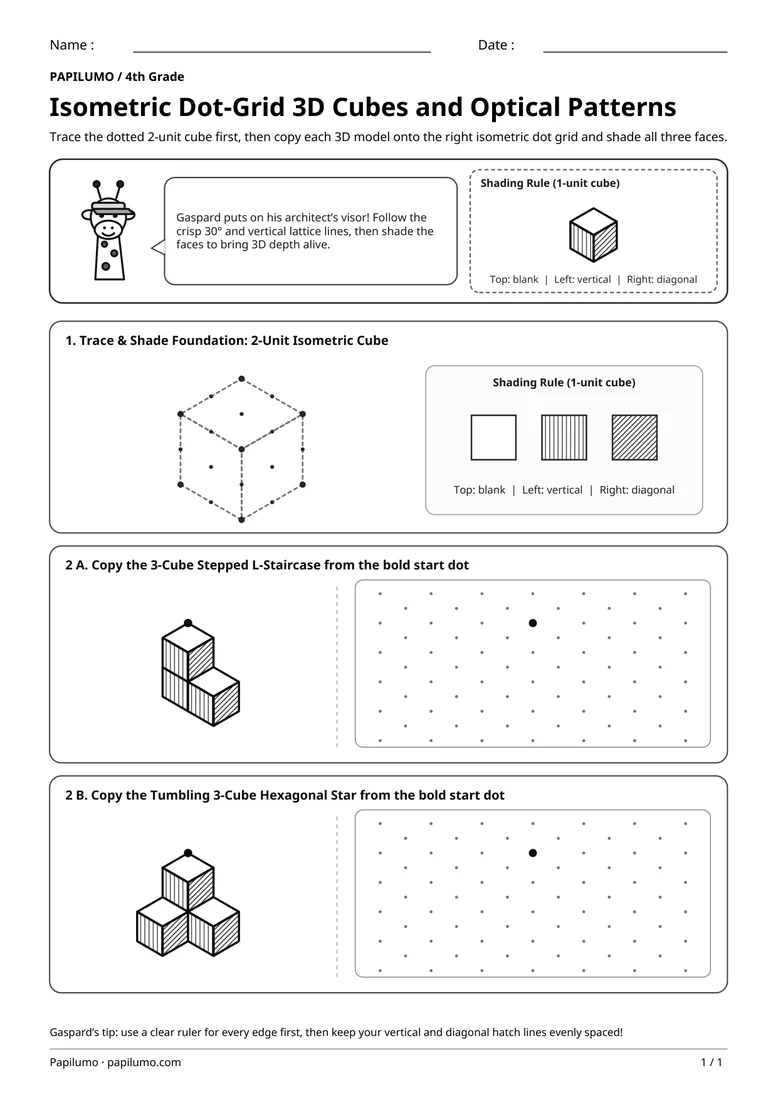
Drawing 3D structures on a triangular isometric dot grid in 4th grade strengthens three-dimensional spatial visualization, parallel-line awareness, and disciplined ruler control. Unlike flat square grids, an isometric lattice teaches pupils how equal cube edges travel straight vertically or slant cleanly at thirty degrees across staggered dot rows without distortion. Consistently shading top, left, and right diamond faces with distinct directional hatches reinforces spatial orientation, light-source logic, steady fine-motor line spacing, calm technical planning, and genuine pride in geometric optical drawing. For a related skill, use Slanted Line Tracing: Slides, Roofs, and Ski Tracks with Tico (Preschool): Start at each bold black dot at the top and trace a straight slanted line downward along the dotted path.
Preparing a short session
Print the student worksheet page at actual size (100%) on crisp white A4 paper so the fine isometric dot grid, light dotted foundation cube, and bold black starter dots stay crisp and easy to read without crowding. Seat your child at a clear, well-lit desk with a sharp graphite pencil, a clean eraser, and a short transparent ruler, keeping the separate one-page answer key PDF completely tucked away until all three constructions are complete. Before ruling lines, pause together briefly to notice how every vertical edge runs strictly parallel.
A concrete example to get started
Inside the framed top banner beside Gaspard wearing his architect visor, a neat worked 1-unit isometric cube clearly illustrates the exact three-face shading rule used across the whole page. Pupils see at a single glance how the horizontal diamond roof stays crisp white, the left diamond face takes neat vertical hatching lines, and the right diamond face takes clean diagonal hatching. Having this concrete shading key directly beside Gaspard’s cue builds instant visual clarity and steady confidence before the first tracing step.
Supporting the activity
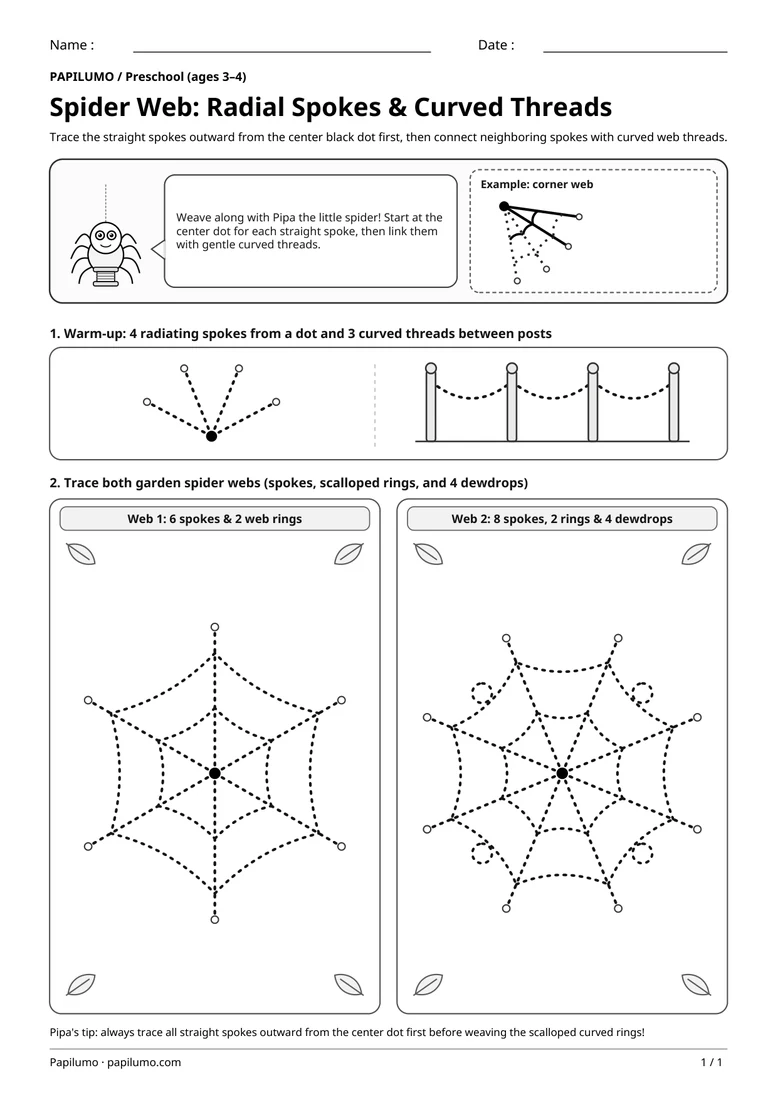
The worksheet progresses cleanly in two carefully scaffolded sections placed below the banner. In Section 1, pupils rule over a large 2-unit isometric foundation cube printed in light dotted edges with visible vertex dots, then apply the three-tone directional shading rule cleanly across its sides. In Section 2, each row pairs a bold shaded reference model on the left with a crisp isometric dot lattice and bold black top-vertex starter dot on the right for two challenges: (A) the 3-Cube Stepped L-Staircase and (B) the Tumbling 3-Cube Hexagonal Star Illusion. To vary the practice, try Spider Web Tracing: Radial Spokes and Curved Threads with Pipa (Preschool): Trace the straight spokes outward from the center black dot first, then connect neighboring spokes with curved web threads.
What to notice and how to check
When the 2-unit foundation cube and both 3-cube constructions are drawn and shaded completely on the isometric dot paper, set the separate one-page answer key PDF neatly beside your child’s finished sheet and review edge by edge together carefully. Check first that every corner meets exact isometric grid dots cleanly without crooked diagonals, then inspect the clear three-tone shading logic across every visible diamond: every top face stays crisp white, every left face vertically hatched, and every right face diagonally hatched. Celebrate how sharply the 3D optical depth pops right out!
Making the task easier
Lightly tick left faces with a tiny V and right faces with a tiny D before shading so hatch directions never accidentally swap.
Keep the learning aim, but reduce how much the child has to handle at once. Cover part of the page with another sheet and reveal one task at a time. Demonstrate a separate example, then leave a real opportunity to work something out. An answer reached with support is still a useful attempt; it does not yet show that the same task can be completed independently.
Taking the idea beyond the worksheet
Use spare isometric dot paper to design an impossible Penrose step or your own four-cube tower with the same three-tone shading rule.
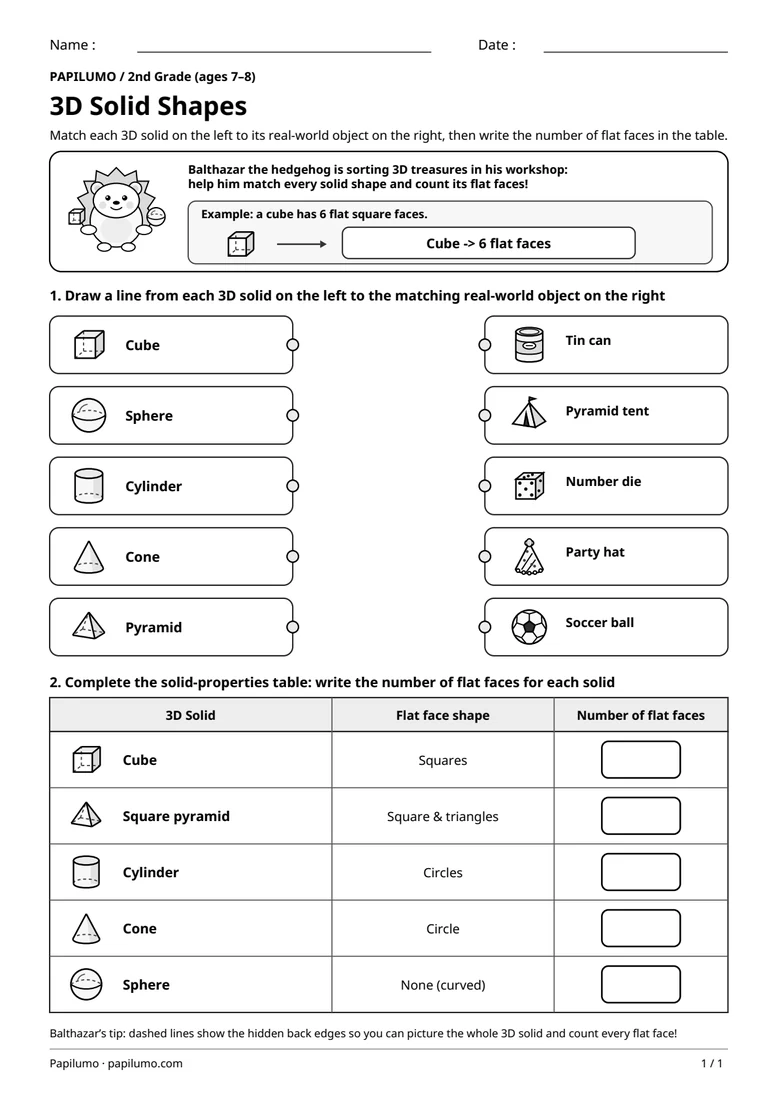
Use the follow-up to meet the same idea in a different setting. Offer it once the first task makes sense, without insisting that the whole page must be perfect. The child might explain a strategy, make an example or set a challenge for an adult. Return to the worksheet only when it helps connect the two situations. A short conversation or a practical activity can be enough to finish the session. To continue exploring, use 3D Solid Shapes: Match Objects and Count Flat Faces with Balthazar the Hedgehog: Match each 3D solid on the left to its real-world object on the right, then write the number of flat faces in the table.
Downloading and printing the PDF
This free PDF contains one worksheet designed for A4 paper. Download the file using the button on this page and open it in your PDF reader. Choose actual size or a 100% scale, check the orientation in the print preview and turn off any browser headers or footers. The illustrations use vector lines, so their outlines stay sharp when printed. Check the margins on one copy before preparing several sheets for a group. The level shown on the page is a guide, rather than a requirement to complete the activity at a particular age.