What this worksheet helps children practise
Trace the light dotted transition unit slowly first so your hand learns the repeating rhythm before continuing on your own!
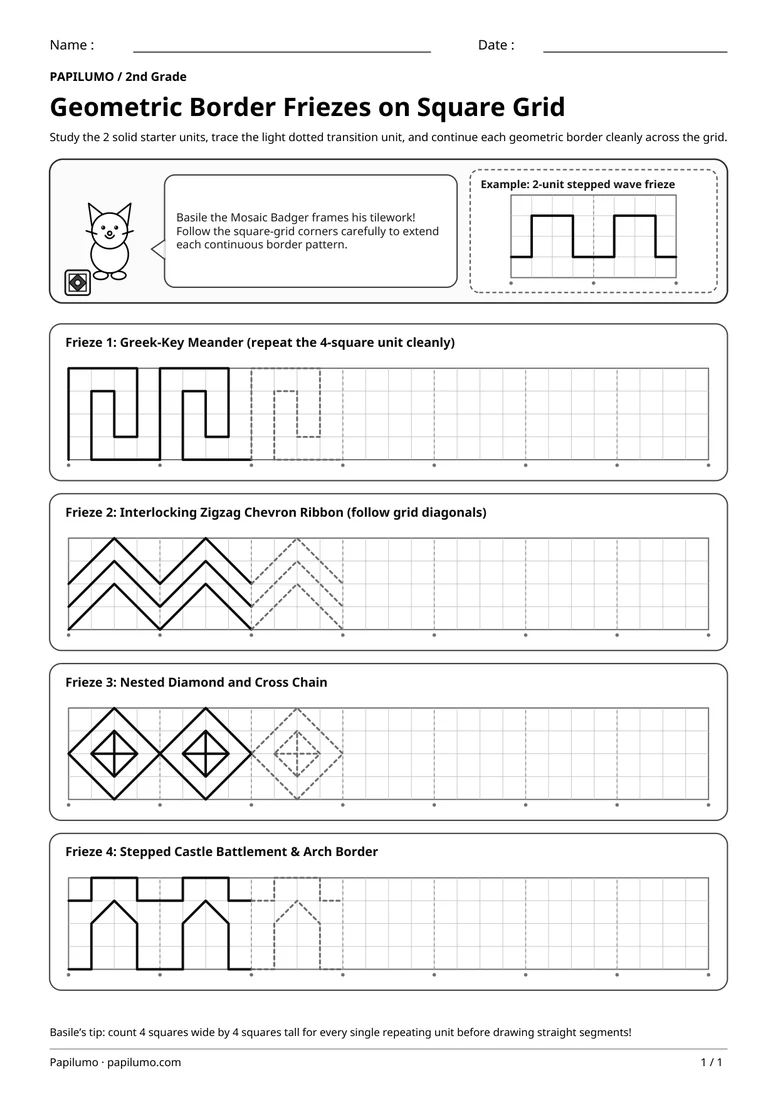
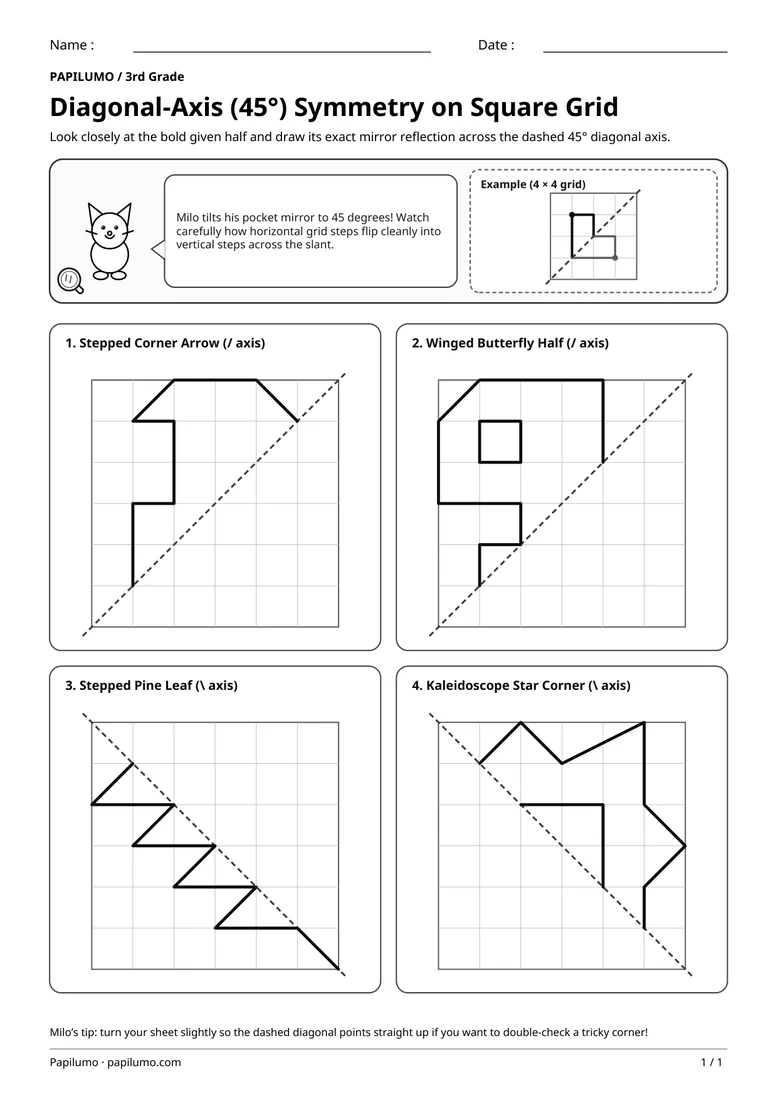
Extending continuous geometric border friezes on square-grid paper in 2nd grade strengthens visual rhythm, coordinate-node accuracy, and controlled ruler or freehand line drawing. Counting four grid squares across and four grid squares tall for every repeating motif trains spatial translation and regularity, laying solid groundwork for perimeter, symmetry, and tessellations. Moving fluently between right-angle meanders, forty-five-degree chevron diagonals, nested diamonds, and stepped arches also builds wrist steadiness, sustained focus, careful spacing habits, and genuine pride in neat geometric school notebook presentation. For a related skill, use Diagonal-Axis (45°) Symmetry Drawing on Square Grid with Milo (3rd Grade): Look closely at the bold given half and draw its exact mirror reflection across the dashed 45° diagonal axis.
Preparing a short session
Print the student worksheet at actual size (100%) on plain white A4 paper so every 4-row square-grid strip and light dotted transition unit appears crisp and easy to follow. Seat your child at a clear, well-lit desk with a sharpened graphite pencil, a clean soft eraser, and optionally a short clear ruler for steady straight segments, keeping the separate answer key PDF completely hidden until all four strips are done. Before drawing, trace both starter units and the dotted link slowly by fingertip to feel the repeating turn sequence.
A concrete example to get started
Inside the framed top banner beside Basile the Mosaic Badger holding his mosaic tile frame, a compact worked example displays a 2-unit stepped wave frieze across a four-square-tall strip. Pupils see immediately how each crisp line climbs vertically, turns squarely across exact grid intersections, steps back down, and links seamlessly into the next identical unit. Having this worked starter right beside Basile’s story gives 2nd graders clear visual rhythm, spatial anchors, and steady confidence before tackling the four full-width border patterns below.
Supporting the activity
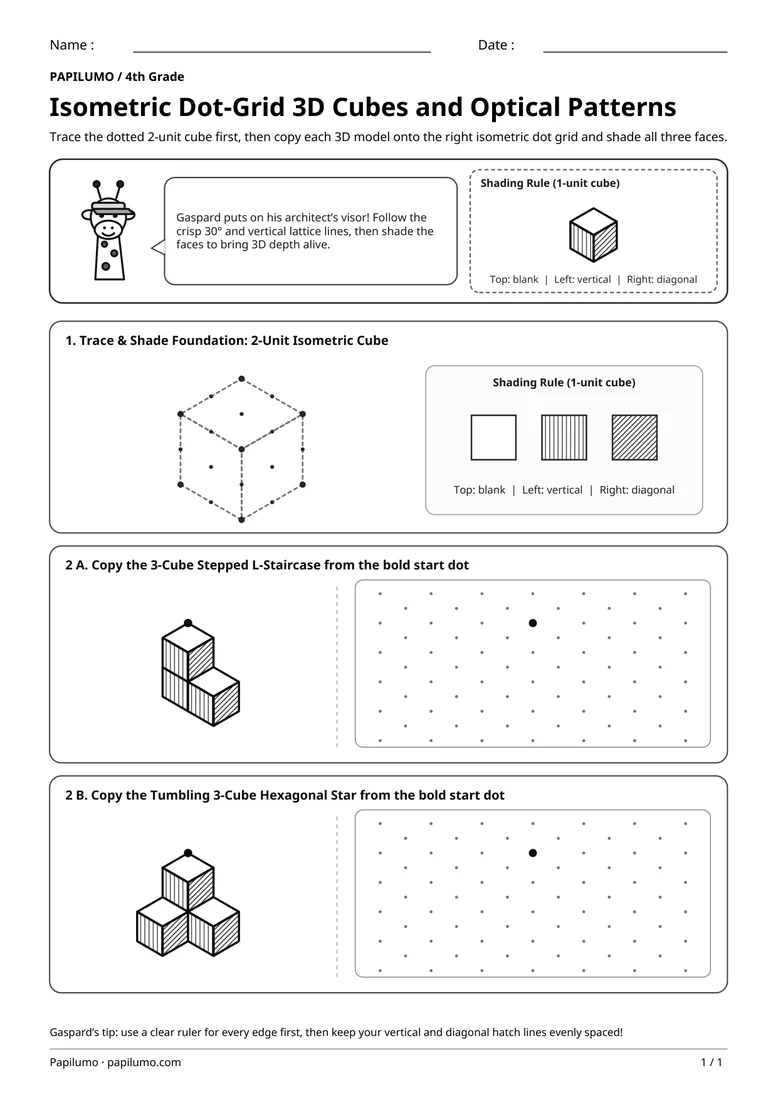
Below the banner sit four full-width square-grid strips, each four squares tall and twenty-eight squares wide so every repeating four-square unit aligns effortlessly across the entire page. Each strip opens with two solid completed pattern units on the left, one light dotted transition unit to trace cleanly for muscle memory, and generous open grid space to continue four more identical repeating units: Frieze 1 (Greek-Key Meander), Frieze 2 (Interlocking Zigzag Chevron Ribbon), Frieze 3 (Nested Diamond and Cross Chain), and Frieze 4 (Stepped Castle Battlement & Arch Border) from left to right. To vary the practice, try Isometric Dot-Grid 3D Cube and Optical Pattern Drawing with Gaspard (4th Grade): Trace the dotted 2-unit cube first, then copy each 3D model onto the right isometric dot grid and shade all three faces.
What to notice and how to check
When all four geometric border friezes are extended neatly to the right edge, place the separate one-page answer key PDF beside your child’s finished worksheet and inspect the repeating visual rhythm together from left to right. Check calmly that every unit spans exactly four squares wide, that vertices meet exact grid intersections, and that diagonal chevrons, diamond centers, and castle arches stayed neatly aligned without drifting. If any corner shifted slightly, erase cleanly, recount four squares together, celebrate steady concentration, and optionally shade alternating inner shapes for extra fun.
Making the task easier
Lightly mark the main corner dots every four squares across the strip with your pencil before connecting each segment.
Keep the learning aim, but reduce how much the child has to handle at once. Cover part of the page with another sheet and reveal one task at a time. Demonstrate a separate example, then leave a real opportunity to work something out. An answer reached with support is still a useful attempt; it does not yet show that the same task can be completed independently.
Taking the idea beyond the worksheet
Design your own original 4-by-4 repeating border frieze on spare squared paper and challenge a friend to extend it.
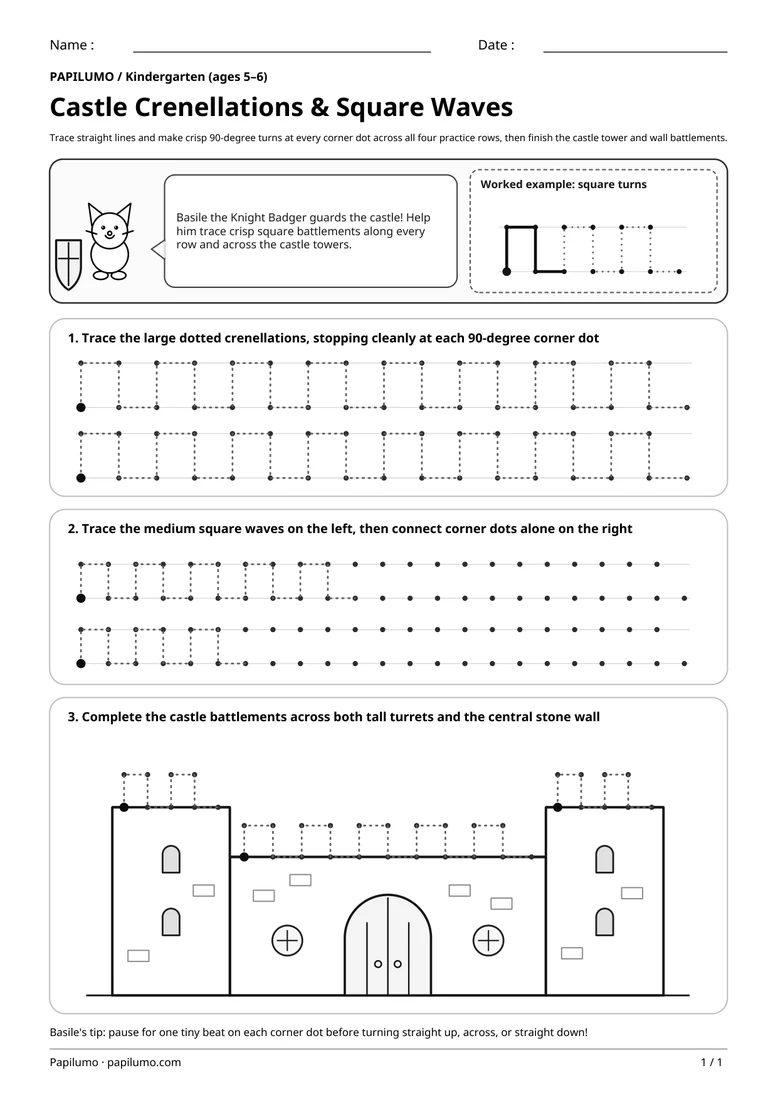
Use the follow-up to meet the same idea in a different setting. Offer it once the first task makes sense, without insisting that the whole page must be perfect. The child might explain a strategy, make an example or set a challenge for an adult. Return to the worksheet only when it helps connect the two situations. A short conversation or a practical activity can be enough to finish the session. To continue exploring, use Castle Crenellations and Square-Wave Tracing with Basile (Kindergarten): Trace straight lines and make crisp 90-degree turns at every corner dot across all four practice rows, then finish the castle tower and wall battlements.
Downloading and printing the PDF
This free PDF contains one worksheet designed for A4 paper. Download the file using the button on this page and open it in your PDF reader. Choose actual size or a 100% scale, check the orientation in the print preview and turn off any browser headers or footers. The illustrations use vector lines, so their outlines stay sharp when printed. Check the margins on one copy before preparing several sheets for a group. The level shown on the page is a guide, rather than a requirement to complete the activity at a particular age.