What this worksheet helps children practise
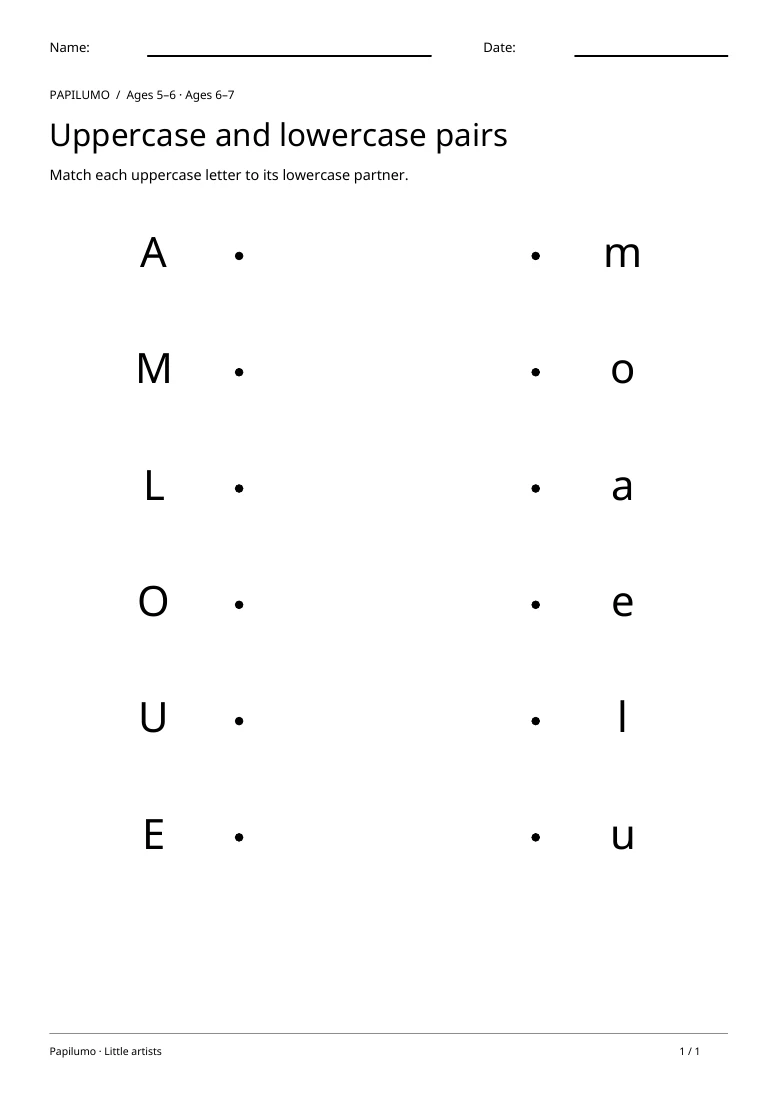
These are printed letter shapes, not joined handwriting. Compare pairs such as O and o before trying pairs that look more different.
Begin with a familiar pair if one appears on the page, perhaps a letter from the child's name. Some partners look very different, so name both forms and compare their details. Check each connecting line at both ends. The models are printed letters; the activity does not ask children to match cursive handwriting.
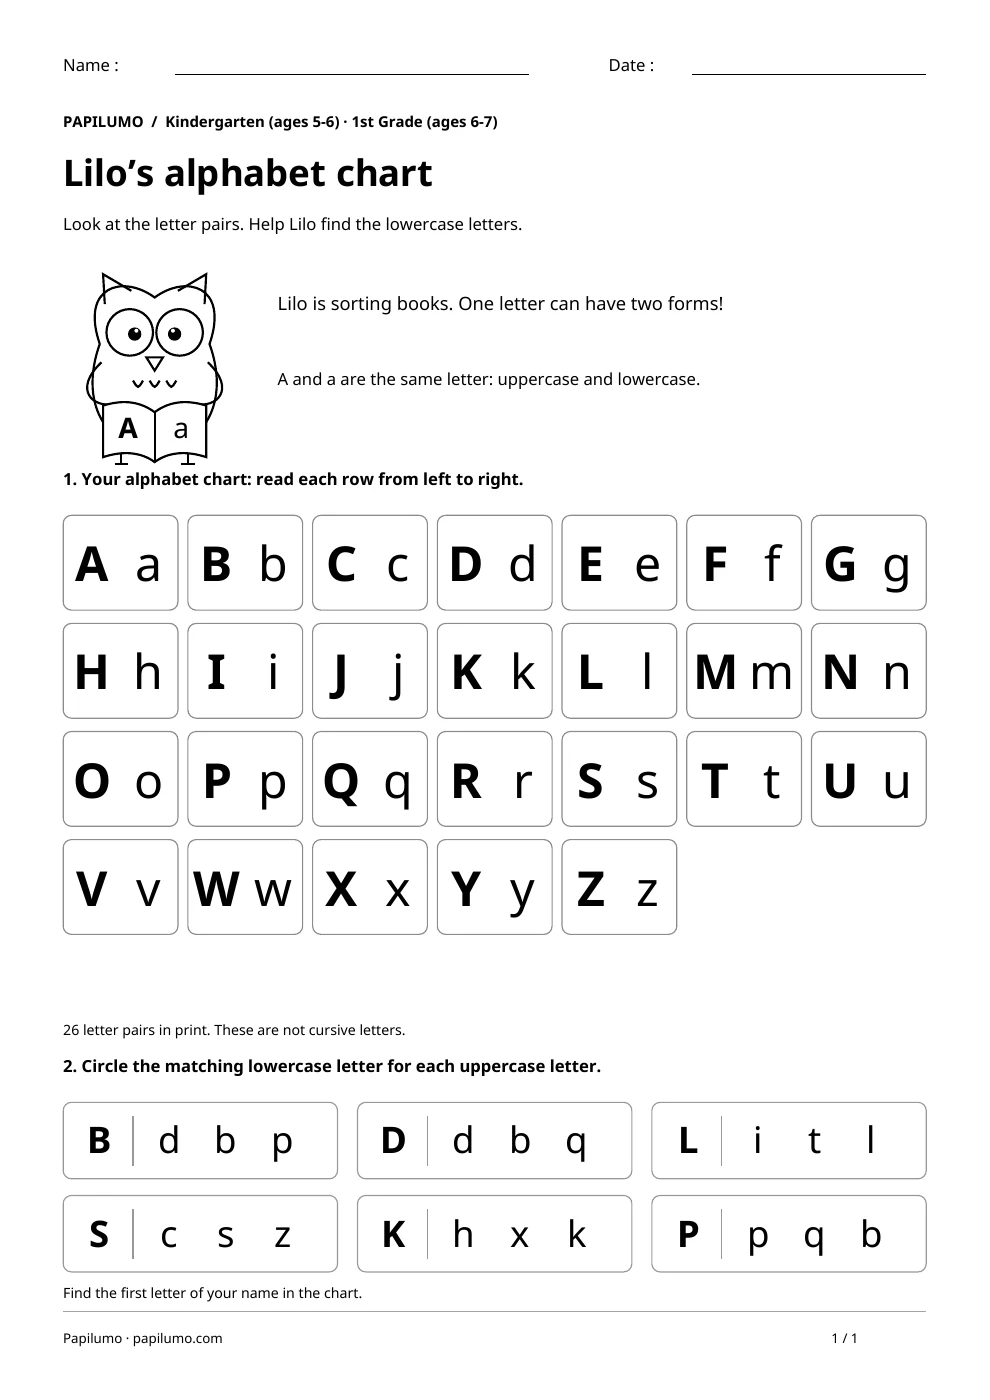
This letter activity develops careful observation of written shapes. Recognising a letter, naming it and tracing it are related but different tasks. Completing the sheet does not by itself show that a child can read or spell a word. Look closely at the model, including straight parts, curves, openings and orientation. When matching two forms of a letter, the challenge is to recognise the same letter despite a different appearance. These are printed letter models rather than a universal guide to joined handwriting. Use the activity to notice specific features, without adding several new demands at the same time. For a related skill, use Uppercase and lowercase alphabet chart with Lilo: Use the alphabet chart, then circle the lowercase match for each uppercase letter.
Preparing a short session
Put the page on a stable surface with a sharpened pencil and enough room for the child to move their hand. Look at the whole sheet together before asking for an answer. Point out the places for looking, drawing or writing. Read the instruction once, then invite the child to explain what they will do in their own words. This can reveal a misunderstanding before the first attempt. Choose a moment when there is time to think calmly, without making the worksheet into a race against the clock.
A concrete example to get started
On scrap paper, show A, a and o. Ask which lower-case letter matches A, then look at the chosen pair together. The task is to recognise the same letter despite different shapes. It does not require turning that match into joined handwriting.
Supporting the activity
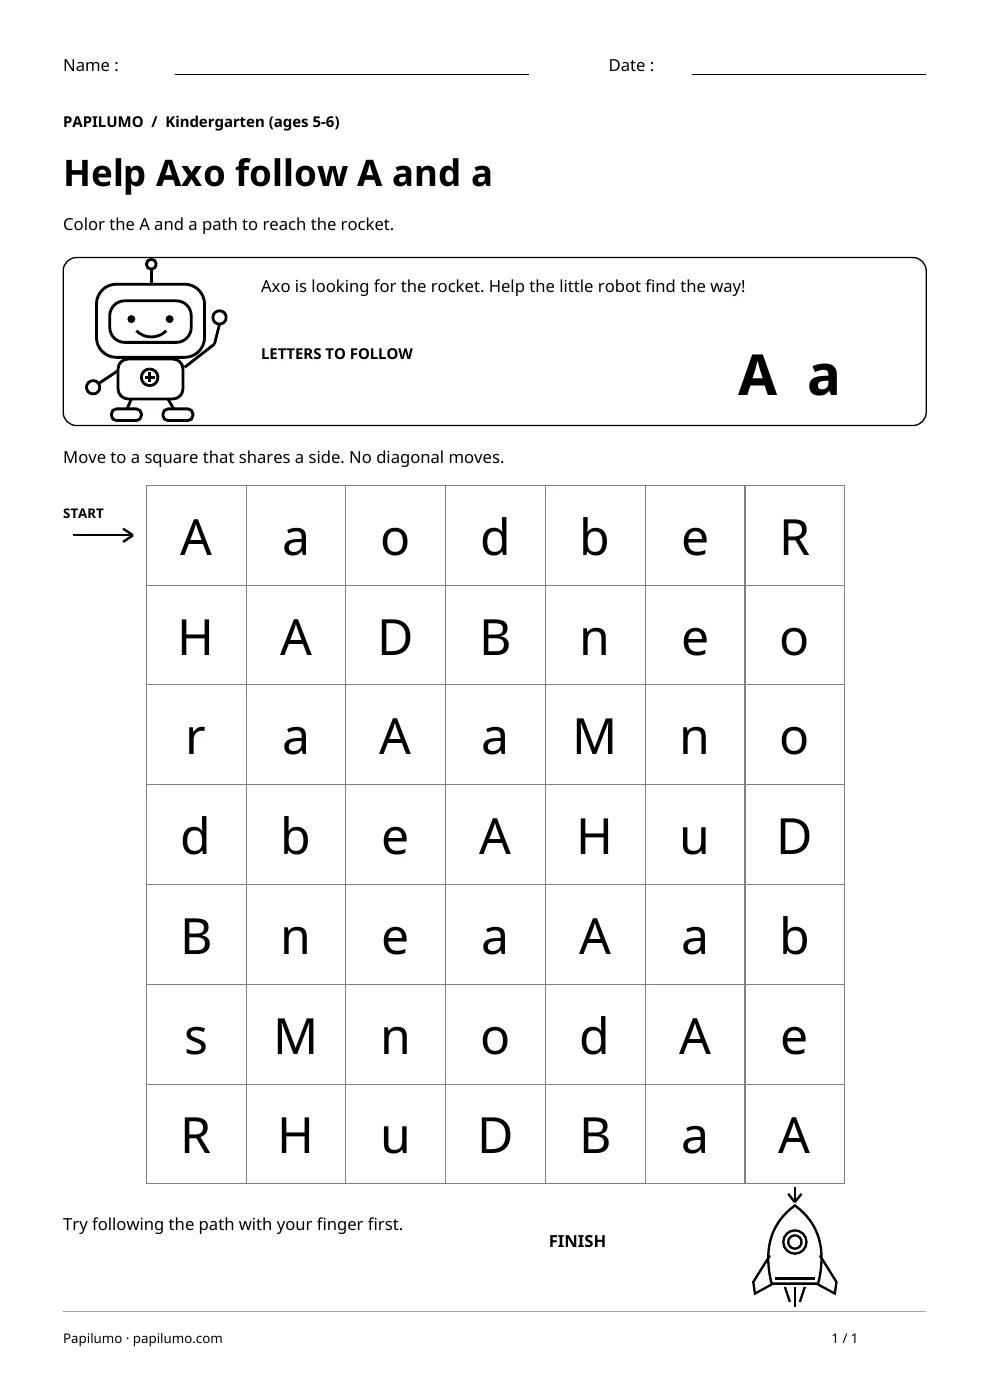
Present one letter or one matching pair at a time. The child can follow an outline with a finger, describe a feature and compare it with their attempt. For tracing, let the free hand steady the paper and keep the model visible while copying. For matching, ask the child to point to both chosen letters before drawing the joining line. Avoid adding a speed target, spelling exercise or reading demand that is not part of the instruction. If the child has been taught a handwriting model at school, an adult can use those familiar explanations when discussing how to form a letter. To vary the practice, try Letter A Maze: Uppercase and Lowercase: Color the A and a path to reach the rocket.
What to notice and how to check
Compare one specific detail between the model and the response: an opening, a bar, a curve or a letter facing the other way. Simply saying that a letter is badly drawn does not show how to try differently. A recognisable shape may still be uneven, so choose one point to improve instead of correcting every feature at once. For matching tasks, check the correspondence rather than the neatness of the joining line. Finish by finding one of the letters in a familiar name or short word, without turning a visual search into a reading task that is beyond the child’s current experience.
Making the task easier
Work with two pairs at a time.
Keep the learning aim, but reduce how much the child has to handle at once. Cover part of the page with another sheet and reveal one task at a time. Demonstrate a separate example, then leave a real opportunity to work something out. An answer reached with support is still a useful attempt; it does not yet show that the same task can be completed independently.
Taking the idea beyond the worksheet
Find a matching lowercase letter in a short sentence.
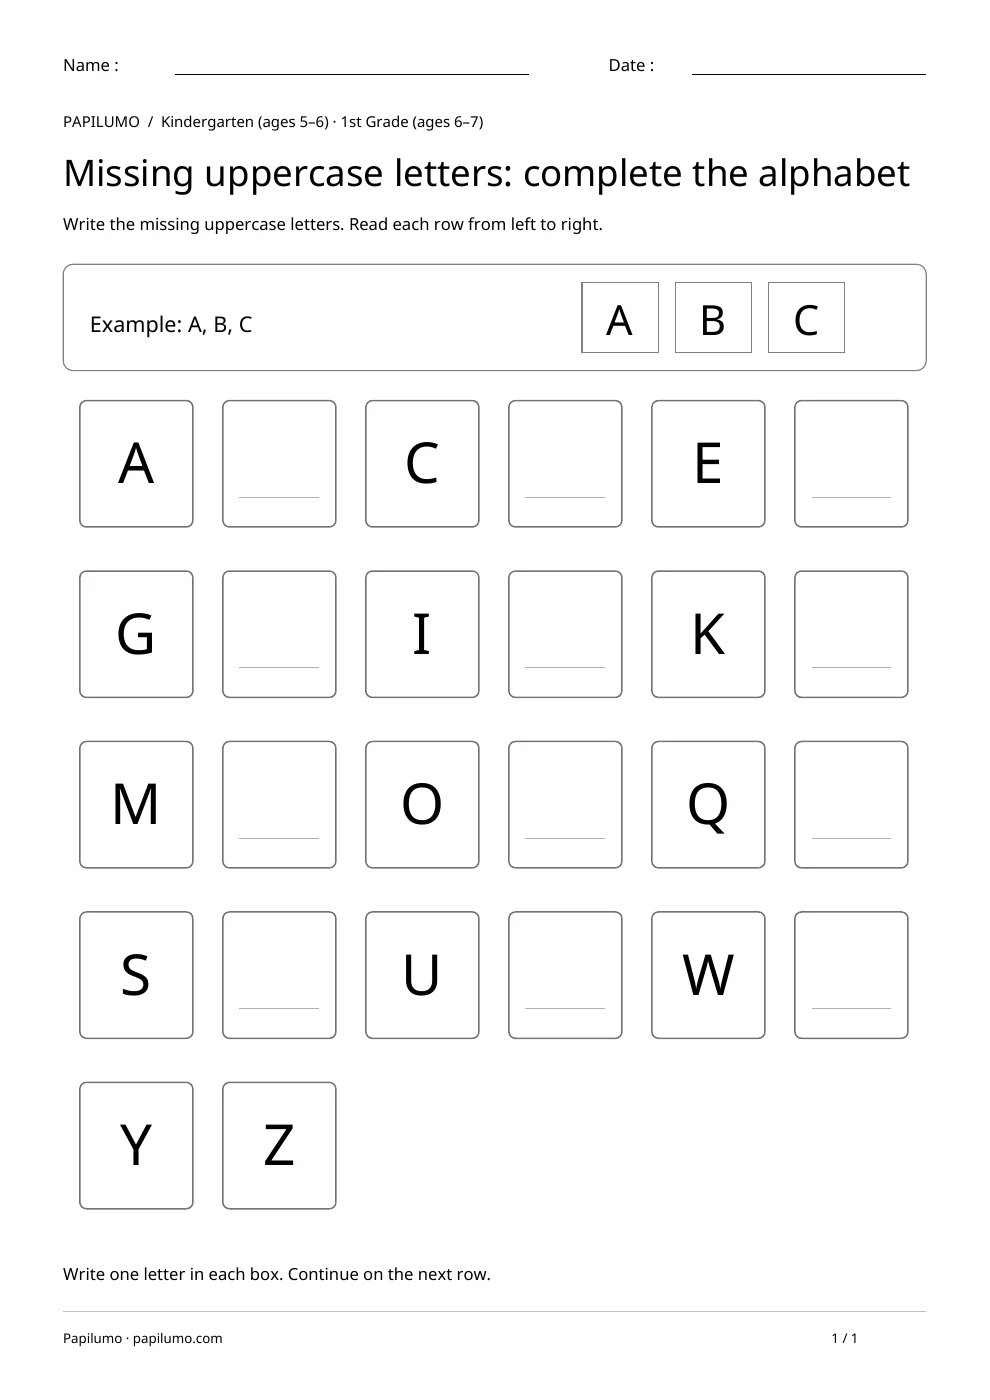
Use the follow-up to meet the same idea in a different setting. Offer it once the first task makes sense, without insisting that the whole page must be perfect. The child might explain a strategy, make an example or set a challenge for an adult. Return to the worksheet only when it helps connect the two situations. A short conversation or a practical activity can be enough to finish the session. To continue exploring, use Missing uppercase letters: complete the alphabet: Write the missing uppercase letters. Read each row from left to right.
Downloading and printing the PDF
This free PDF contains one worksheet designed for A4 paper. Download the file using the button on this page and open it in your PDF reader. Choose actual size or a 100% scale, check the orientation in the print preview and turn off any browser headers or footers. The illustrations use vector lines, so their outlines stay sharp when printed. Check the margins on one copy before preparing several sheets for a group. The level shown on the page is a guide, rather than a requirement to complete the activity at a particular age.