What this worksheet helps children practise
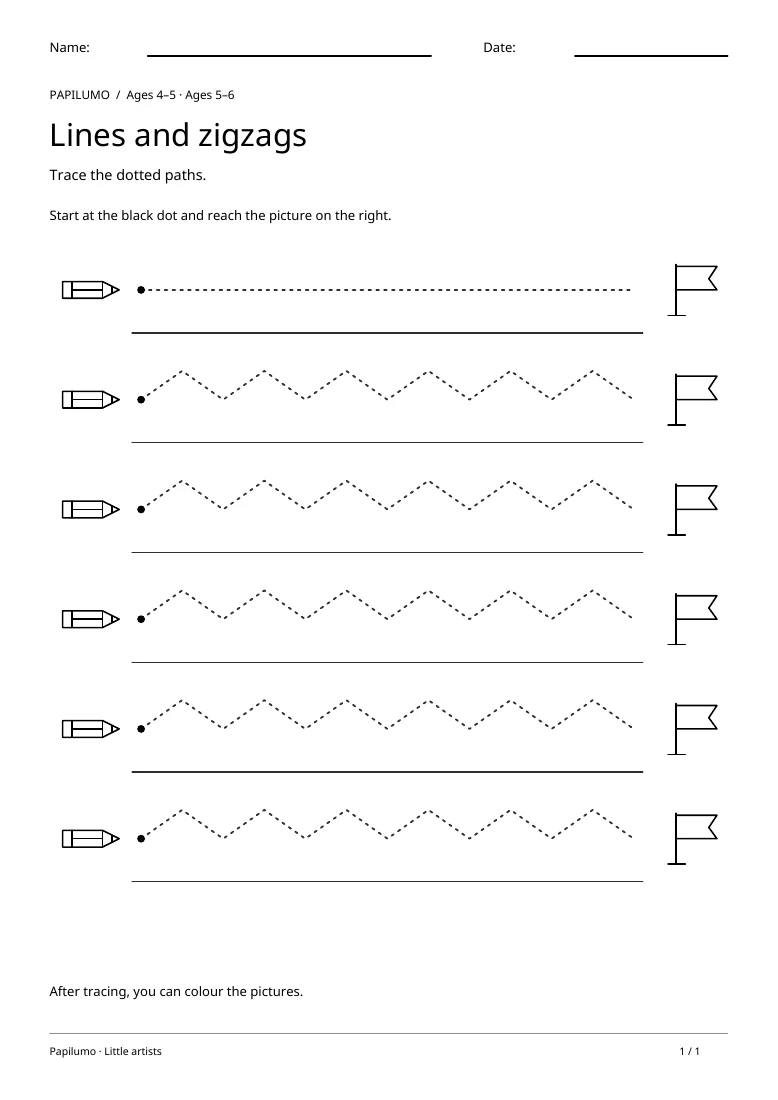
Look at each change of direction. It is fine to pause at a corner before drawing the next part of the zigzag.
Look along a zigzag and identify the points where the direction changes. Pause briefly at a corner without automatically lifting the pencil. Compare a slow attempt with a more flowing one and ask which felt easier to control. Work on a short section again if needed rather than repeating the entire page.
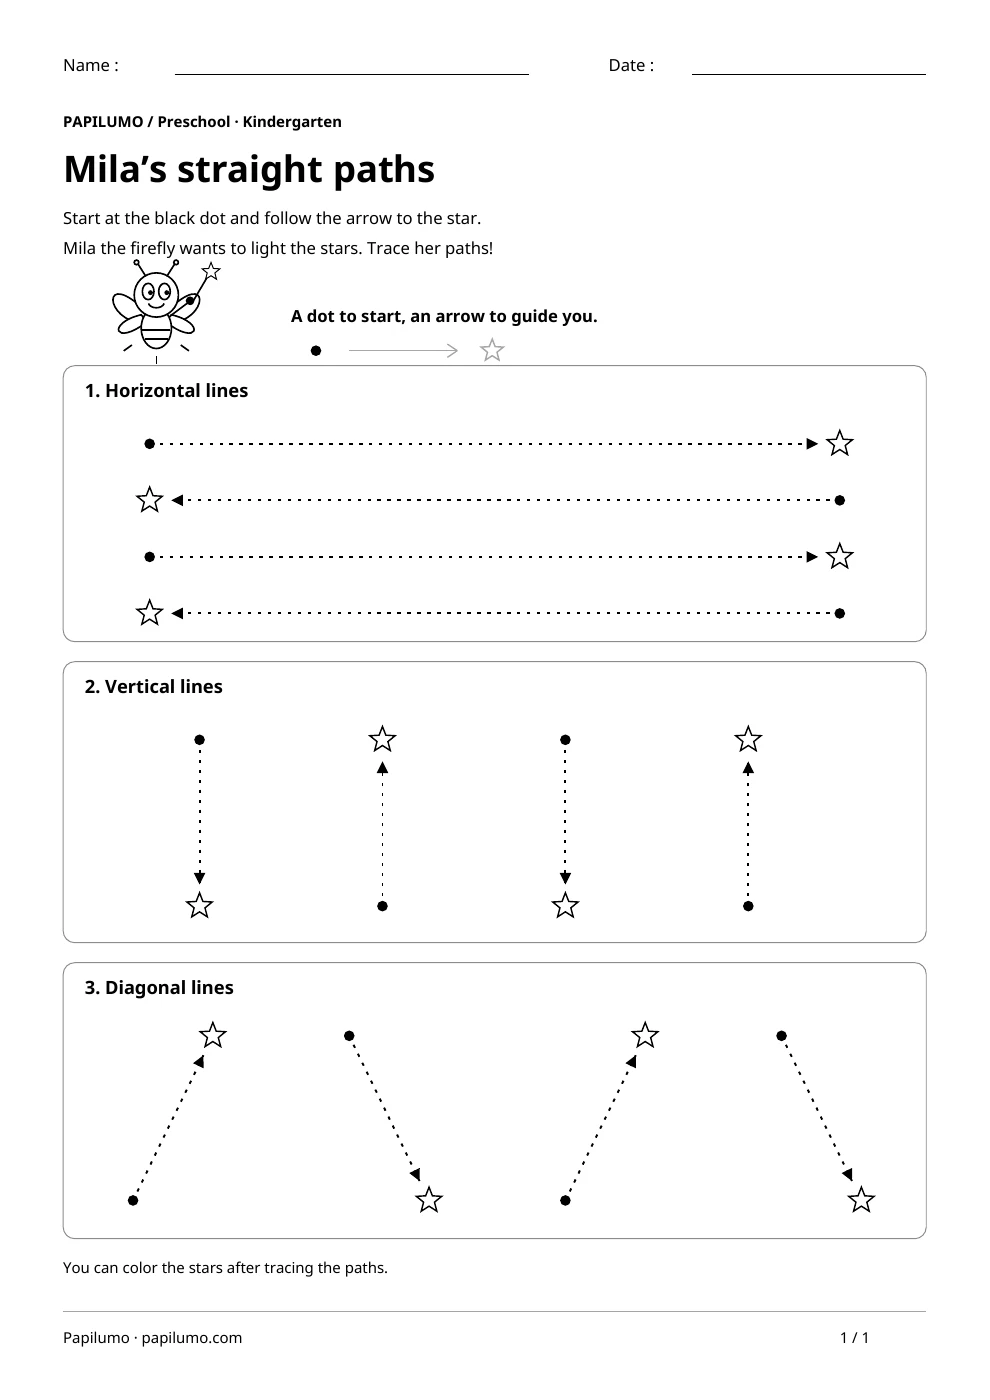
This pencil-control activity connects what the eyes follow with what the hand does. The purpose is to notice a starting point, a direction and changes along a path, rather than to fill the page quickly. The child can look ahead before moving the pencil. A line that strays a little may still show that the movement is understood; a very dark line may reflect how much effort the grip is taking. Notice the process and how comfortably the child works as well as the final marks. The worksheet offers practice, not a test of neat handwriting. For a related skill, use Horizontal, Vertical and Diagonal Line Tracing: Start at the black dot and follow the arrow to the star.
Preparing a short session
Put the page on a stable surface with a sharpened pencil and enough room for the child to move their hand. Look at the whole sheet together before asking for an answer. Point out the places for looking, drawing or writing. Read the instruction once, then invite the child to explain what they will do in their own words. This can reveal a misunderstanding before the first attempt. Choose a moment when there is time to think calmly, without making the worksheet into a race against the clock.
A concrete example to get started
Draw a straight line beside a zigzag. Compare the routes with a finger: the zigzag changes direction at every corner. The child may pause at those points before moving on. This prepares a deliberate change of direction without requiring fast pencil movements.
Supporting the activity
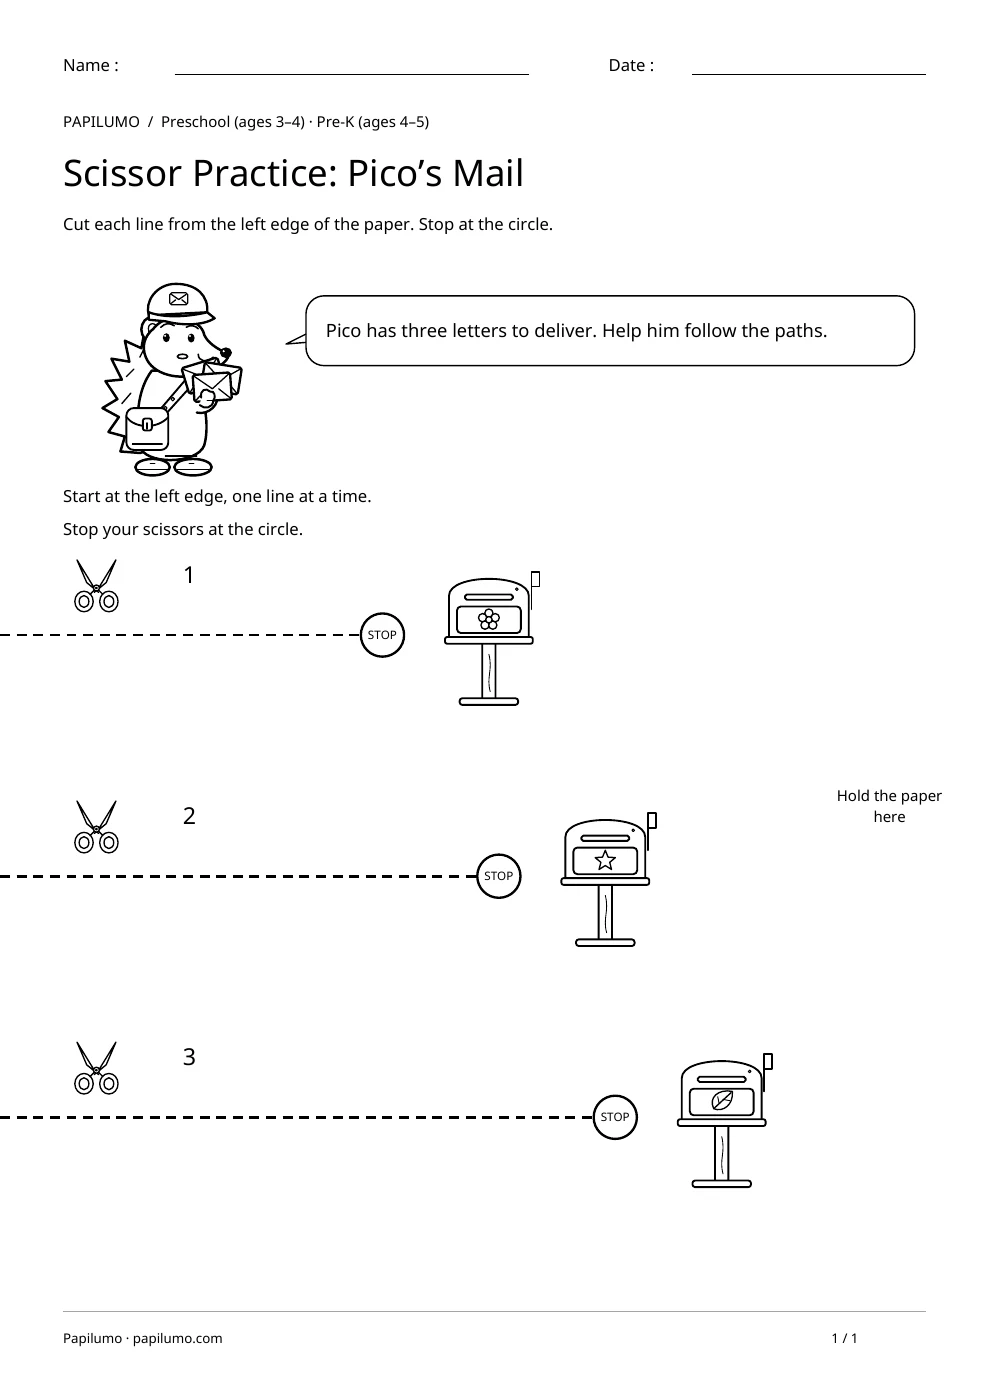
Begin by following a short part of the path with a finger. Describe what happens on that particular stretch: move along, turn, go up, go down or change direction. Try the same part with a pencil, leaving the child in control of the movement. It is fine to pause and look at what comes next. Avoid steering their hand along the entire route, because that makes it difficult to see their own decisions. If the paper slips, use the free hand to steady it. A larger version on scrap paper can prepare for a smaller movement without repeatedly going over the printed line. To vary the practice, try Scissor Practice: Pico’s Mail: Cut each line from the left edge of the paper. Stop at the circle.
What to notice and how to check
When checking, choose one successful place and one place to look at again. Ask where the pencil left the path or turned before it needed to. Point to a particular spot instead of making a general judgement about the quality of the drawing. A break can help when the pencil pressure increases or the hand seems tense. Keep an attempt so that you can compare it with a later session. There is no need to erase every small deviation or to finish every line in one sitting before recognising what the child has managed to do.
Making the task easier
Begin with the straight line.
Keep the learning aim, but reduce how much the child has to handle at once. Cover part of the page with another sheet and reveal one task at a time. Demonstrate a separate example, then leave a real opportunity to work something out. An answer reached with support is still a useful attempt; it does not yet show that the same task can be completed independently.
Taking the idea beyond the worksheet
Draw a mountain with three peaks.
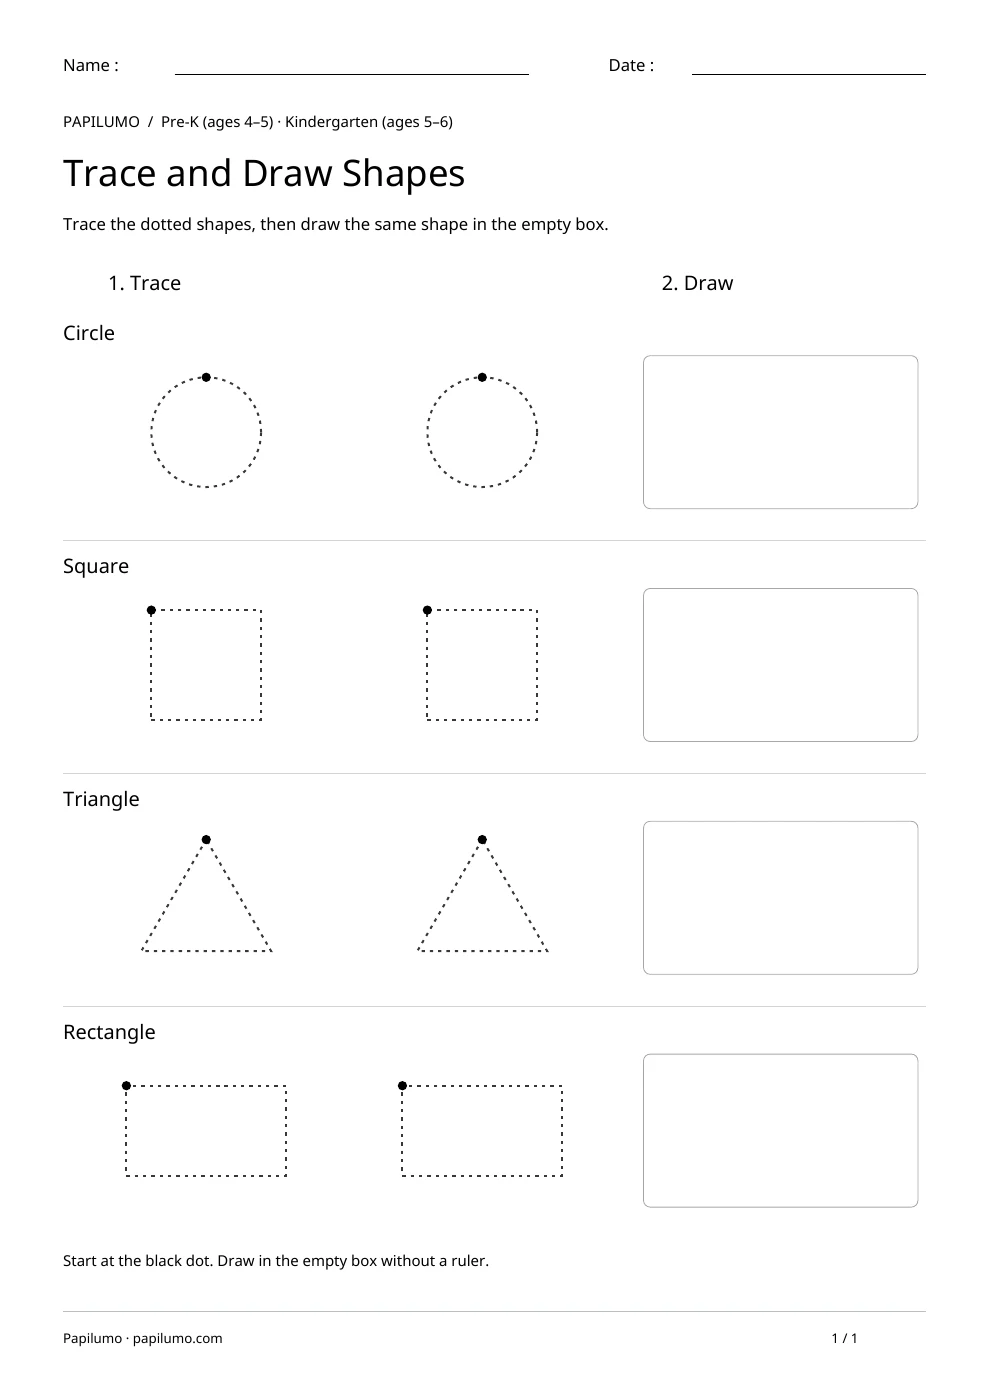
Use the follow-up to meet the same idea in a different setting. Offer it once the first task makes sense, without insisting that the whole page must be perfect. The child might explain a strategy, make an example or set a challenge for an adult. Return to the worksheet only when it helps connect the two situations. A short conversation or a practical activity can be enough to finish the session. To continue exploring, use Trace and Draw Shapes: Trace the dotted shapes, then draw the same shape in the empty box.
Downloading and printing the PDF
This free PDF contains one worksheet designed for A4 paper. Download the file using the button on this page and open it in your PDF reader. Choose actual size or a 100% scale, check the orientation in the print preview and turn off any browser headers or footers. The illustrations use vector lines, so their outlines stay sharp when printed. Check the margins on one copy before preparing several sheets for a group. The level shown on the page is a guide, rather than a requirement to complete the activity at a particular age.