

What this worksheet helps children practise
Look at the star on the right and slide your crayon straight across from the black dot on the left!
Tracing flat horizontal strokes cleanly from left to right in preschool establishes foundational directional tracking for early reading and writing long before letter formation begins. By aiming from a bold black start dot on the left toward a clear anchor star on the right without drifting upward or dipping into the water, young learners build smooth forearm sliding control, wrist steadiness, and eye-hand coordination across wide spans. Practicing repeated horizontal lines prepares little hands naturally for uppercase letters like E, F, H, L, and T. For a related skill, use Rainbow Curved Arcs Pre-Writing Tracing with Lili (Preschool): Start at each big black dot on the left, sweep smoothly up over the top, and curve down to the star on the right.
Preparing a short session
Print the student worksheet at actual size (100%) on plain white A4 or letter paper without shrinking margins, and provide a chunky triangular pencil, soft wax crayon, or thick washable marker at a calm table. Keep the separate one-page answer key PDF out of view while your child works independently. Before drawing on paper, invite your preschooler to glide one pointer finger flat through the air from left to right like a wooden plank crossing a stream, then finger-trace two bridge rails and ladder rungs slowly. Keep the helper hand resting flat on the paper so the sheet stays still.
A concrete example to get started
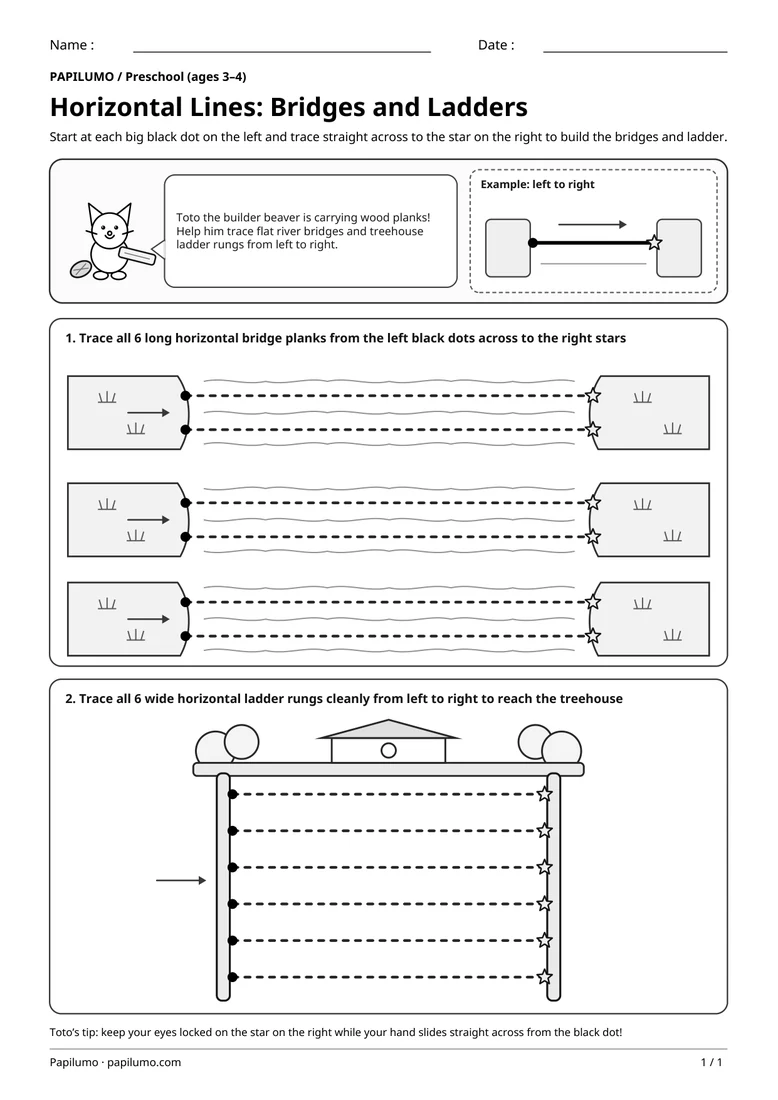
Inside the framed top banner beside Toto the friendly beaver carrying his wooden plank, a pointing speech bubble introduces the building task right next to a worked mini bridge example. On the left bank sits a bold black start dot; a crisp solid horizontal line accompanied by a small rightward arrow crosses cleanly over the water to an anchor star on the opposite bank. Pre-readers grasp at once where to start, which direction to move, and exactly where to stop without long explanations.
Supporting the activity
Guide your child smoothly across both building zones from top to bottom on the page. In Section 1, three gentle wavy rivers separate grassy left and right banks; each crossing features two long dashed plank rails extending from black dots on the left to anchor stars on the right, giving six satisfying wide horizontal strokes. In Section 2, two tall vertical wooden rails support a cozy leafy treehouse at the top; children trace six wide horizontal dotted rungs cleanly from left to right. Notice how every crossing links a bold left start dot to a crisp right star. To vary the practice, try Trace the Curved Path: Hungry Critters to Snacks with Zia (Preschool): Start at each big black dot on the left and trace along the dotted curved trail to help every hungry critter reach its snack.
What to notice and how to check
Once all twelve horizontal strokes are complete, place the separate bold-line answer key PDF next to your child’s worksheet to review and praise steady horizontal control. Check together calmly that all six bridge planks across the three river crossings and all six treehouse ladder rungs start right on their left black dots and reach the anchor stars cleanly. If any plank dipped or curved, gently finger-trace it once more together, then invite your child to color the grassy riverbanks, leafy treehouse, and Toto.
Making the task easier
Trace each dashed bridge plank and ladder rung twice with your pointer finger from left to right before using a crayon.
Keep the learning aim, but reduce how much the child has to handle at once. Cover part of the page with another sheet and reveal one task at a time. Demonstrate a separate example, then leave a real opportunity to work something out. An answer reached with support is still a useful attempt; it does not yet show that the same task can be completed independently.
Taking the idea beyond the worksheet
Color the grassy riverbanks, gentle water ripples, leafy treehouse, and Toto the beaver once all twelve lines are finished.
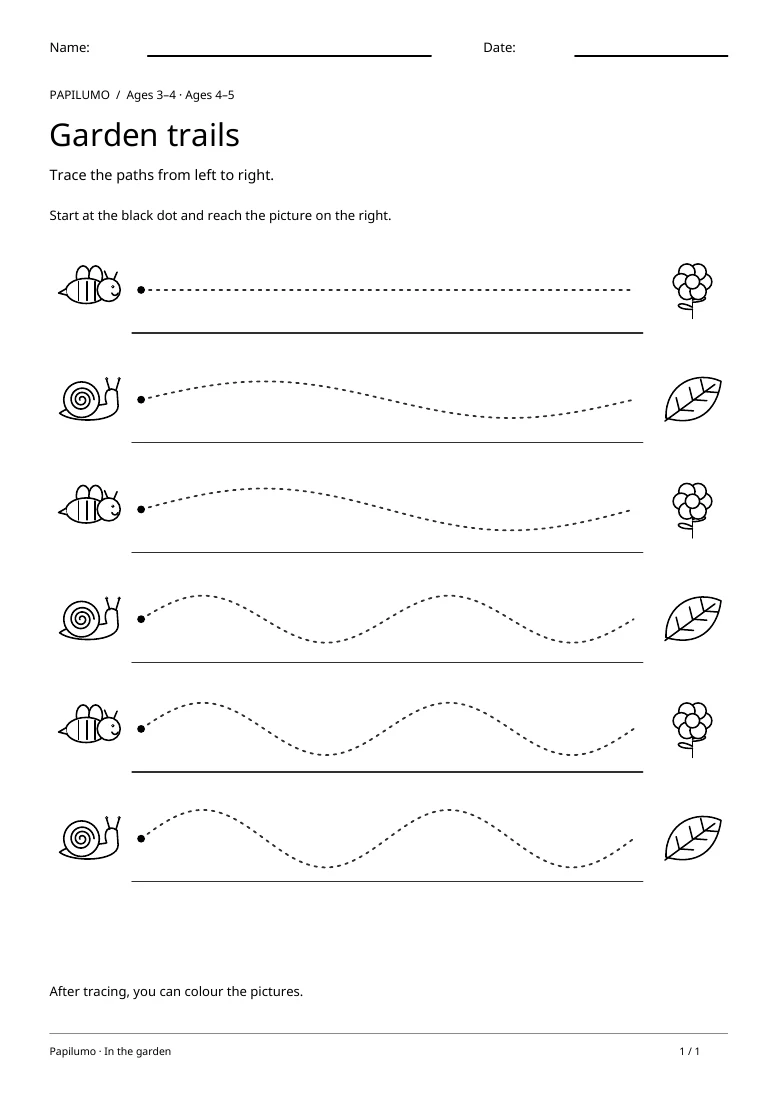
Use the follow-up to meet the same idea in a different setting. Offer it once the first task makes sense, without insisting that the whole page must be perfect. The child might explain a strategy, make an example or set a challenge for an adult. Return to the worksheet only when it helps connect the two situations. A short conversation or a practical activity can be enough to finish the session. To continue exploring, use Preschool Tracing Lines: Garden Paths: Trace the paths from left to right.
Downloading and printing the PDF
This free PDF contains one worksheet designed for A4 paper. Download the file using the button on this page and open it in your PDF reader. Choose actual size or a 100% scale, check the orientation in the print preview and turn off any browser headers or footers. The illustrations use vector lines, so their outlines stay sharp when printed. Check the margins on one copy before preparing several sheets for a group. The level shown on the page is a guide, rather than a requirement to complete the activity at a particular age.