
What this worksheet helps children practise
Small and large shapes belong together when their outlines are the same kind. Place all cards before sticking; an adult may cut them out.
Introduce all three shape families before cutting. Ask the child to focus on the outline rather than the size of a card's shape. A small triangle belongs with larger triangles because their defining features agree. Check every placement together before applying glue, and provide adult help with scissors as needed.
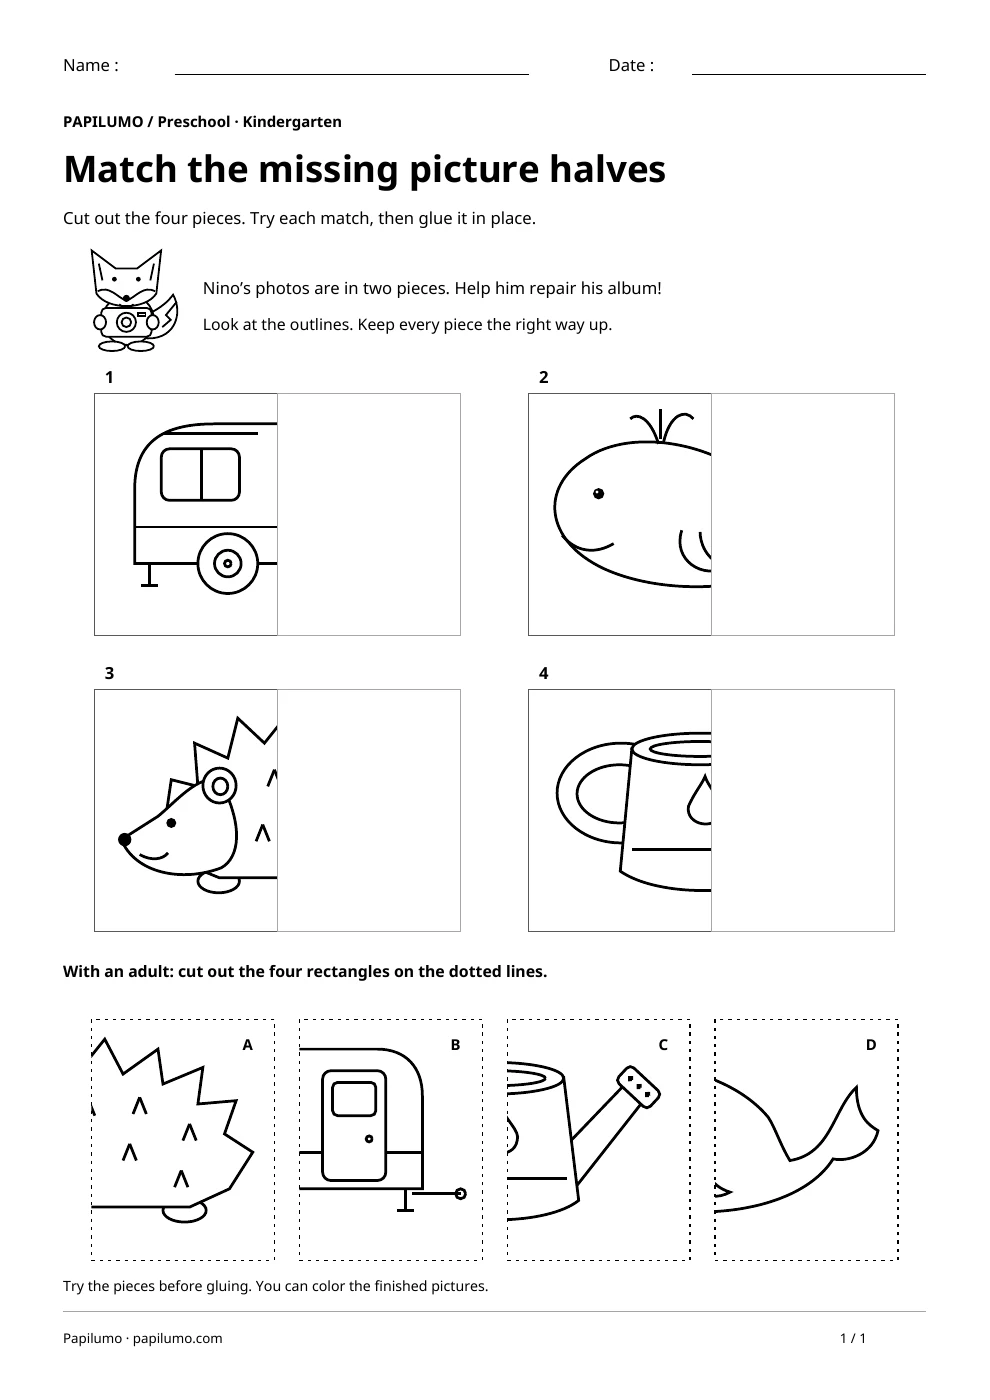
Shape and logic activities ask children to notice useful information and choose a rule for acting on it. Depending on the worksheet, they compare outlines, arrange items or take account of several clues. Pictures support the thinking, but children still need to distinguish features that matter from decoration. Asking for an explanation helps reveal the strategy being used. A correct answer found by chance and an answer reached by pointing to evidence do not tell you the same thing about what to offer next. The aim is to make a choice that the child can explain in an accessible way. For a related skill, use Picture halves: cut and paste the missing pieces: Cut out the four pieces. Try each match, then glue it in place.
Preparing a short session
Put the page on a stable surface with a sharpened pencil and enough room for the child to move their hand. Look at the whole sheet together before asking for an answer. Point out the places for looking, drawing or writing. Read the instruction once, then invite the child to explain what they will do in their own words. This can reveal a misunderstanding before the first attempt. Choose a moment when there is time to think calmly, without making the worksheet into a race against the clock.
A concrete example to get started
Show a small triangle, a large triangle and a square. Both triangles belong to the same family despite their size difference. The child can point to three sides before sorting. An adult can prepare the cut-out pieces if using scissors distracts from comparing the shapes.
Supporting the activity
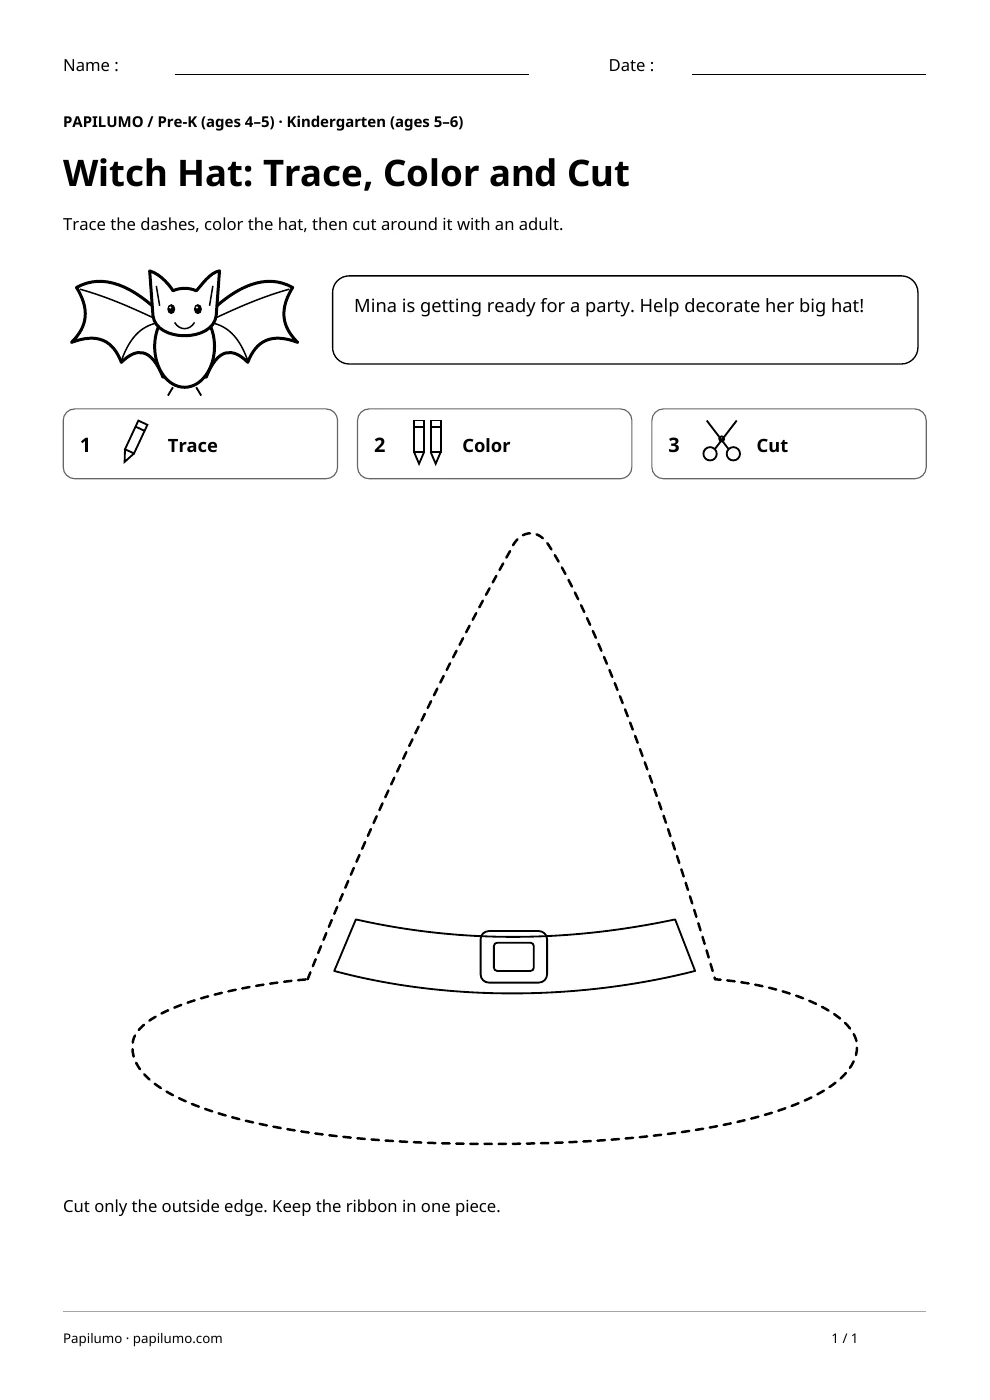
Before the child answers, identify the items that can be compared or moved. Make the first attempt reversible: pointing, placing a card or using a counter leaves room to change an idea. Ask which clue helped and whether that choice still fits the other information on the page. If several possibilities seem suitable, return to the instruction rather than immediately giving the solution. An error can then become a suggestion to examine instead of something to erase without discussion. When the activity uses cut-out pieces, leave enough space around them to see each option clearly, and only fix them in place after checking the arrangement. To vary the practice, try Witch Hat: Trace, Color and Cut: Trace the dashes, color the hat, then cut around it with an adult.
What to notice and how to check
To check the work, use the rule with the pictures that are actually visible. Invite the child to show a comparison or follow the arrangement they have made. A difficulty might come from vocabulary, visual tracking or the rule itself, and each needs a different kind of help. Explain an unfamiliar word without choosing the answer. If a piece appears to be in the wrong place, look at the feature that makes it different from the others. A few words and gestures can provide a good explanation; speed and a polished verbal answer are not the main goals of this practice.
Making the task easier
Start with circles and squares.
Keep the learning aim, but reduce how much the child has to handle at once. Cover part of the page with another sheet and reveal one task at a time. Demonstrate a separate example, then leave a real opportunity to work something out. An answer reached with support is still a useful attempt; it does not yet show that the same task can be completed independently.
Taking the idea beyond the worksheet
Find an object with a face like each shape.
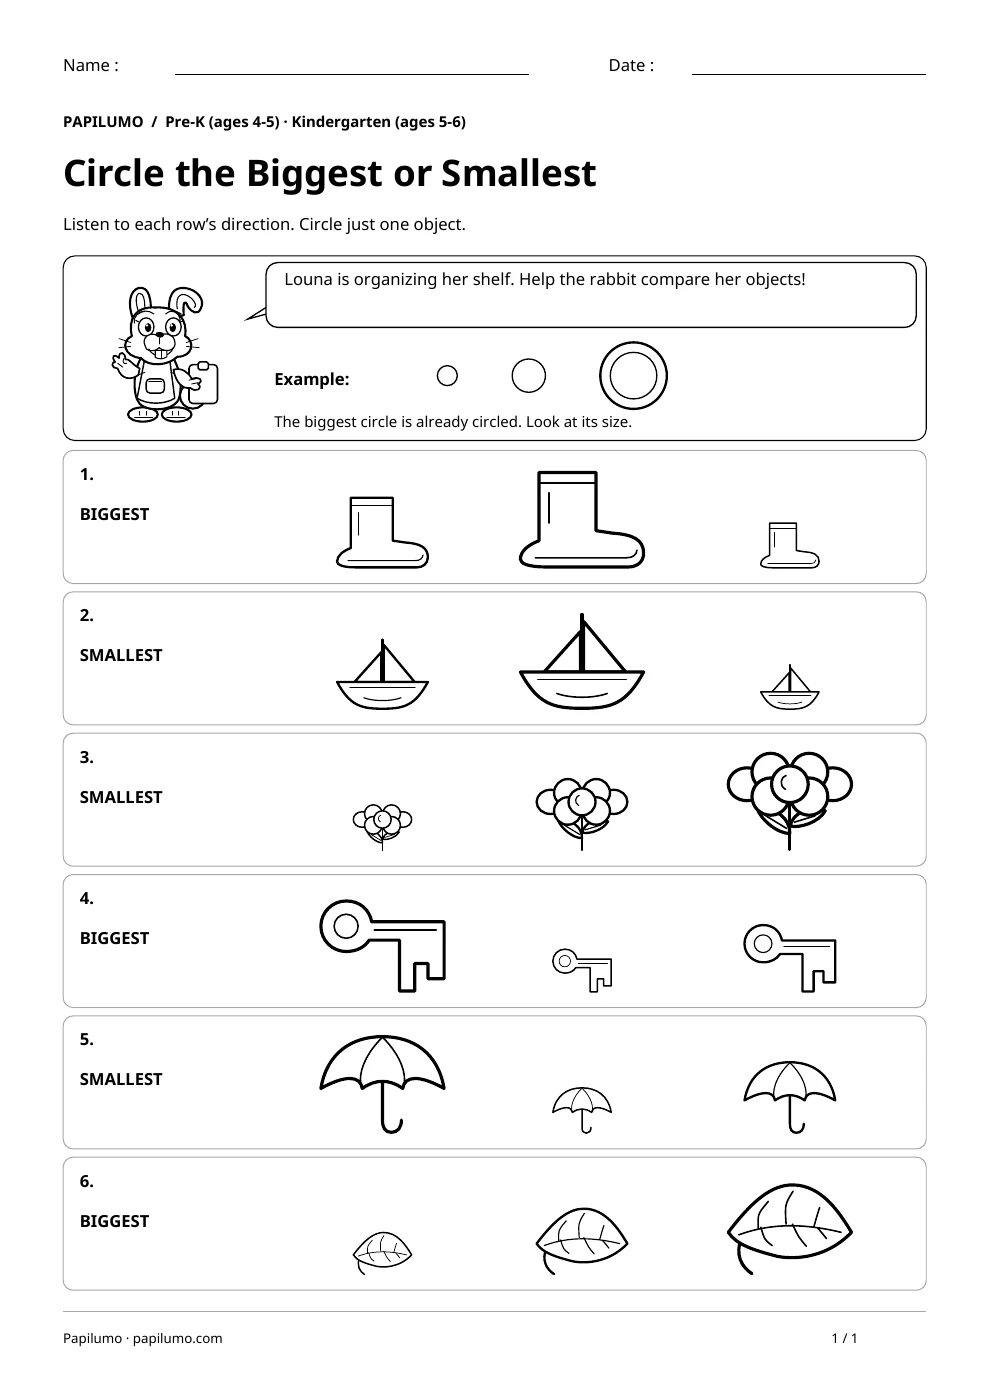
Use the follow-up to meet the same idea in a different setting. Offer it once the first task makes sense, without insisting that the whole page must be perfect. The child might explain a strategy, make an example or set a challenge for an adult. Return to the worksheet only when it helps connect the two situations. A short conversation or a practical activity can be enough to finish the session. To continue exploring, use Biggest and Smallest Objects: Compare Sizes: Listen to each row’s direction. Circle just one object.
Downloading and printing the PDF
This free PDF contains one worksheet designed for A4 paper. Download the file using the button on this page and open it in your PDF reader. Choose actual size or a 100% scale, check the orientation in the print preview and turn off any browser headers or footers. The illustrations use vector lines, so their outlines stay sharp when printed. Check the margins on one copy before preparing several sheets for a group. The level shown on the page is a guide, rather than a requirement to complete the activity at a particular age.