

What this worksheet helps children practise
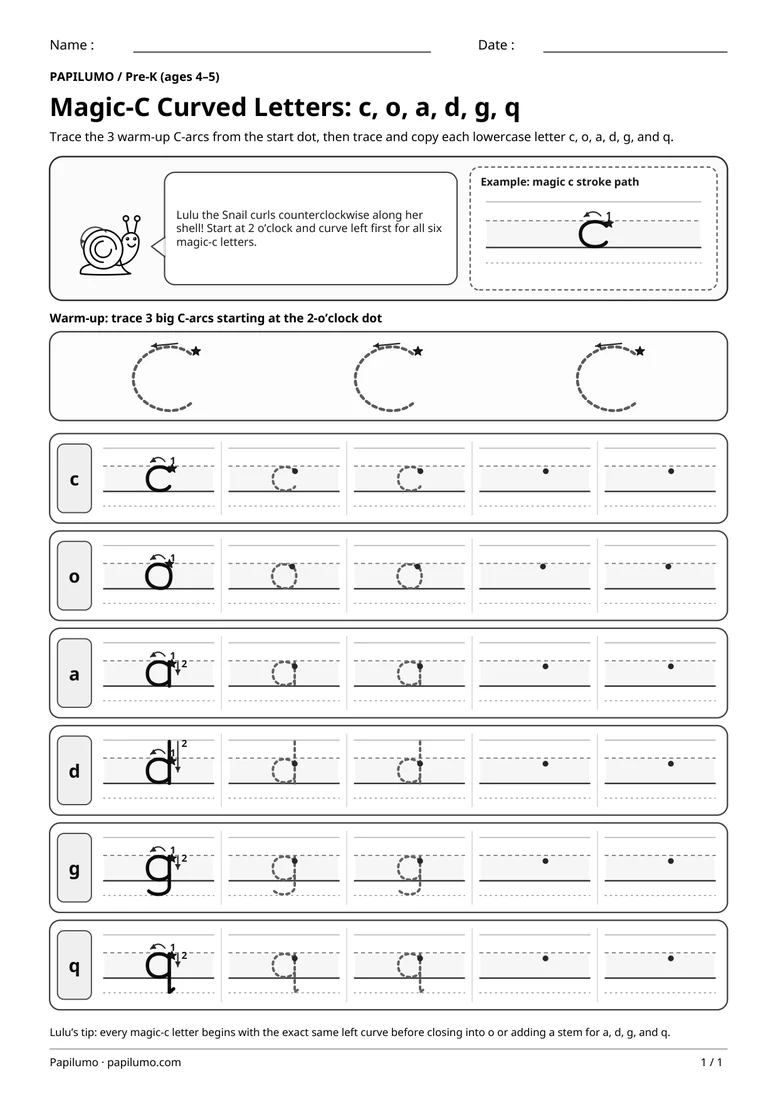
Start every letter at the 2-o’clock dot, curve left like a smooth c, then add the straight stem or tail without lifting prematurely.
Grouping c, o, a, d, g, and q around one shared 2-o’clock starting habit prevents backward circles, awkward bottom-up strokes, and early b/d or p/q reversals in Pre-K. When young writers practice curving up and left first down to the baseline, their fingers develop fluid counterclockwise muscle memory that carries smoothly into later cursive and print handwriting. Tall ascender lines on d and descending tails on g and q also teach accurate lowercase vertical placement on wide primary writing lines across the whole page. For a related skill, use Right Way Around or Backwards? Spot Correctly Facing Letters with Pico: Check the model letter on the signpost, circle the 2 upright letters, and trace the dotted letter.
Preparing a short session
Print the student worksheet at 100% scale on smooth white A4 paper and keep the separate answer key neatly out of sight during practice. Provide a sharp triangular pencil, standard soft graphite pencil, or fine washable marker at a comfortable desk height in a bright, quiet workspace at home. Before touching pencil to paper, invite your child to trace Lulu’s shell spiral in the air and on the page with one pointer finger, curling up and to the left so the wrist relaxes naturally into the smooth magic-c motion right away.
A concrete example to get started
Inside the top banner beside Lulu the Snail, a worked example card clearly demonstrates how the magic-c stroke begins. A crisp lowercase c rests on wide primary guidelines with a small 2-o’clock start star at the top right and a smooth curved directional arrow showing the counterclockwise path down to the baseline. Directly beneath the banner, the warm-up strip offers three large dotted C-arcs with start dots and curved directional arrows so little hands loosen up calmly before tracing any letters.
Supporting the activity
Six roomy framed rows guide children calmly through c, o, a, d, g, and q in logical developmental order across the page. Each row begins with one numbered step-by-step directional model showing stroke 1 (the counterclockwise magic-c curve) and stroke 2 where needed—closing o or adding the vertical stem for a, d, g, and q. Next come two large dotted tracing letters seated on wide primary guidelines, followed by two open copy boxes marked with clean 2-o’clock start dots for confident independent writing. To vary the practice, try Mirror-Pair Lowercase Letters (b vs. d and p vs. q): Spot, Sort & Write with Bibi: Circle b or p and draw a box around d or q on the lily pads, then trace all 4 letters and complete each word.
What to notice and how to check
When the warm-up arcs and all six letter rows are filled in completely, place the separate answer key beside your child’s finished page to review stroke direction and spacing together. Check calmly that every letter started at the 2-o’clock curve rather than from the bottom, that c stays open, o closes neatly, a sits cleanly on the baseline, d reaches the top ascender line, and g and q dip cleanly below the baseline. Celebrate the neatest, smoothest letter in each row and encourage proud, unhurried, confident writing every day.
Making the task easier
Trace each warm-up C-arc and row model twice with your finger first so your hand remembers where the curve turns.
Keep the learning aim, but reduce how much the child has to handle at once. Cover part of the page with another sheet and reveal one task at a time. Demonstrate a separate example, then leave a real opportunity to work something out. An answer reached with support is still a useful attempt; it does not yet show that the same task can be completed independently.
Taking the idea beyond the worksheet
Put a small star under your favorite freehand letter in every row and say a word starting with each of the six letters.
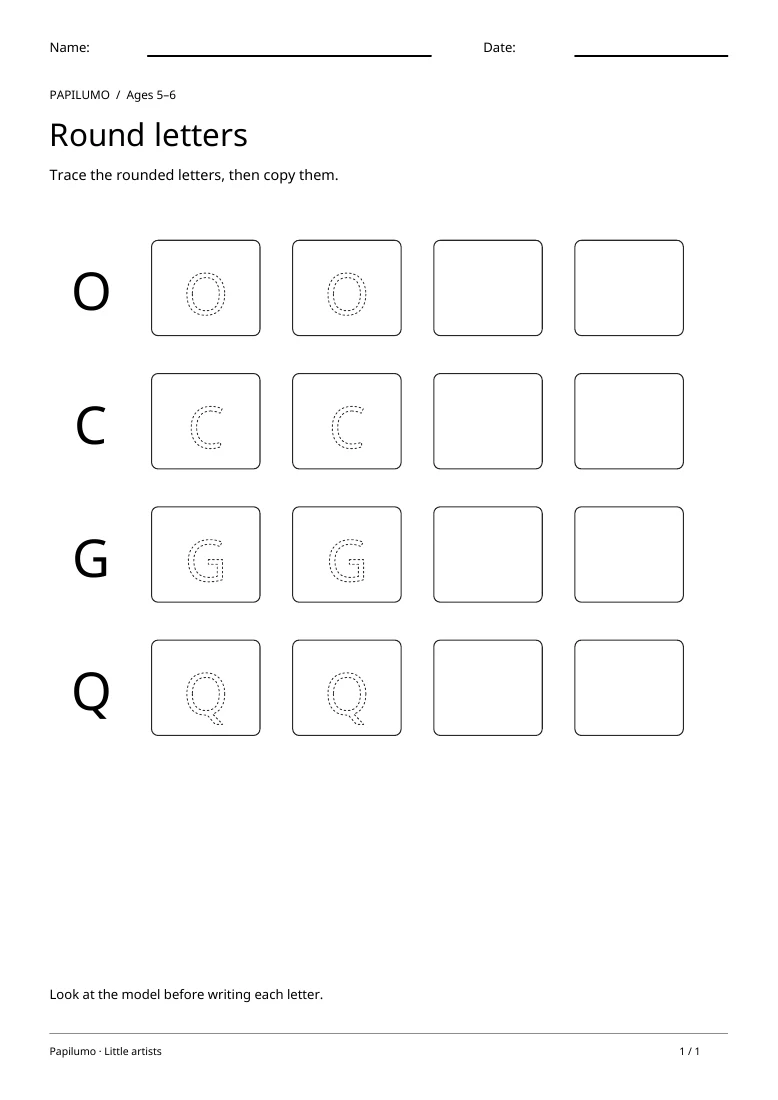
Use the follow-up to meet the same idea in a different setting. Offer it once the first task makes sense, without insisting that the whole page must be perfect. The child might explain a strategy, make an example or set a challenge for an adult. Return to the worksheet only when it helps connect the two situations. A short conversation or a practical activity can be enough to finish the session. To continue exploring, use Uppercase Letter Tracing: Rounded Letters: Trace the rounded letters, then copy them.
Downloading and printing the PDF
This free PDF contains one worksheet designed for A4 paper. Download the file using the button on this page and open it in your PDF reader. Choose actual size or a 100% scale, check the orientation in the print preview and turn off any browser headers or footers. The illustrations use vector lines, so their outlines stay sharp when printed. Check the margins on one copy before preparing several sheets for a group. The level shown on the page is a guide, rather than a requirement to complete the activity at a particular age.