

What this worksheet helps children practise
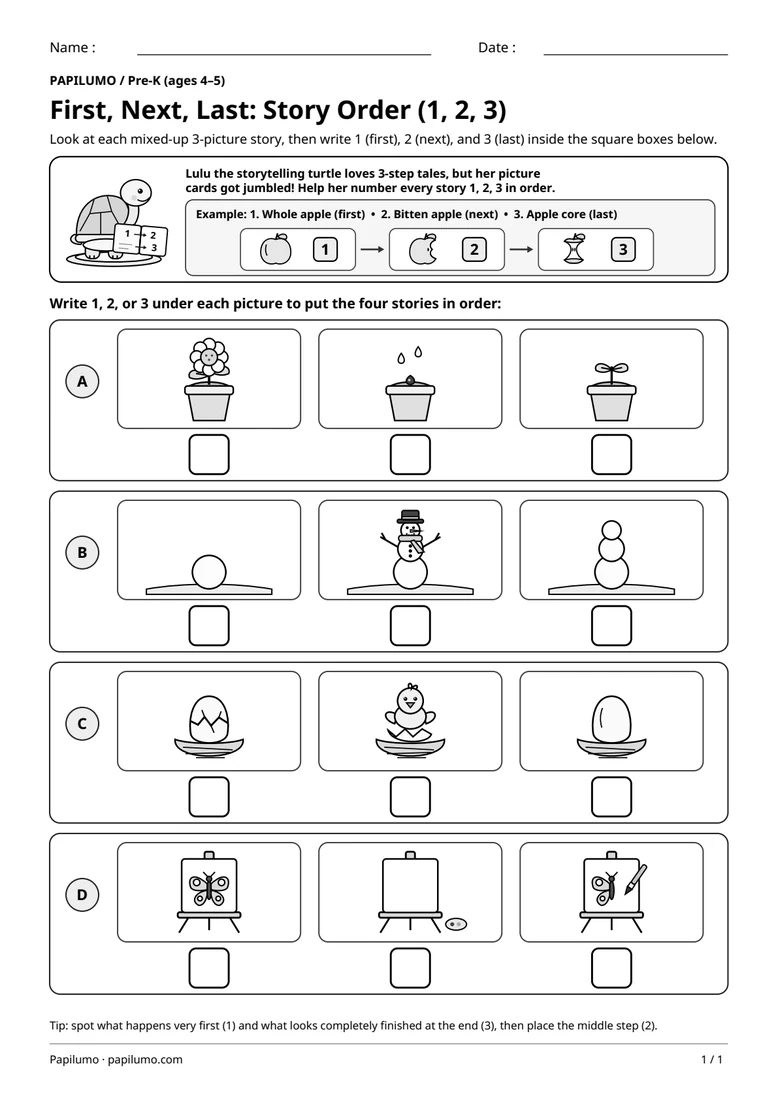
Find the very beginning picture (1) and the finished picture (3) first—then only one box is left for 2!
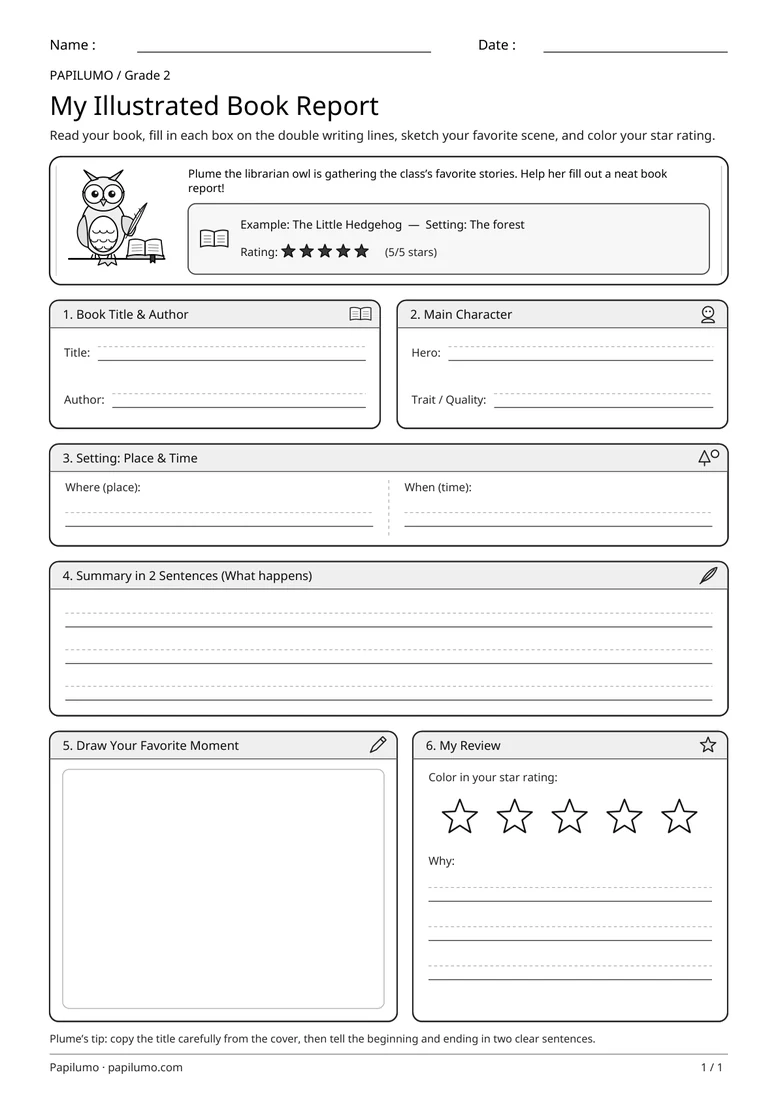
Sequencing three pictures into first, next, and last builds essential early reading comprehension, cause-and-effect reasoning, and everyday time vocabulary right in preschool. To decide what belongs in spot 1, 2, or 3, young learners examine concrete visual clues across each panel—a tiny seed before a leafy sprout, a smooth eggshell before a jagged crack, or an empty white easel before a finished butterfly painting. Retelling what changed between frames strengthens oral language fluency and prepares children naturally for multi-step story structure. For a related skill, use Illustrated Book Report with Plume the Librarian Owl: Read your book, fill in each box on the double writing lines, sketch your favorite scene, and color your star rating.
Preparing a short session
Print the student worksheet at actual size (100%) on plain white letter or A4 paper without shrinking margins, and provide a sharpened pencil with a soft eraser. Keep the separate answer key completely out of sight while your child works independently. Sit comfortably together at a clear table, point to Lulu the storytelling turtle holding her open book, and talk through the three apple example frames at the top aloud before tackling the four scrambled rows below.
A concrete example to get started
Inside the top example box, three mini panels show the apple sequence already solved in order: first the whole crisp apple with its leaf is numbered 1, next the apple with one big bite missing is numbered 2, and last the bare apple core with seeds is numbered 3. Seeing this visual progression makes the task immediately clear to non-readers, demonstrating that numbers 1, 2, and 3 go in the square box beneath each matching scene.
Supporting the activity
Across rows A through D, children examine three mixed-up pictures per story and number them 1, 2, and 3. Row A (planting a flower) shows the blooming flower, seed in a pot, and small sprout, matching 3, 1, 2. Row B (building a snowman) shows one snow base ball, the finished snowman wearing a scarf and hat, and three plain stacked snowballs, matching 1, 3, 2. Row C (chick hatching) shows a cracked egg, the hatched baby chick, and a whole egg in the nest, matching 2, 3, 1. Row D (painting a picture) shows the finished butterfly painting, a blank easel, and a halfway painted butterfly, matching 3, 1, 2. To vary the practice, try Frog Life Cycle: Observe, Read and Order the 4 Stages with Bibi: Look at the 4 pond cards: write numbers 1 to 4, copy each name onto the lines, then finish the cycle and sentences.
What to notice and how to check
When reviewing finished sheets alongside the separate PDF answer key, invite your child to point to panels 1, 2, and 3 in order on each row while telling the story aloud: seed, sprout, then flower; one snowball, three stacked balls, then dressed snowman; whole egg, cracked shell, then hatched chick; blank canvas, half-painted wing, then complete butterfly. If two stages are swapped, ask gently what had to happen before the finished picture before erasing neatly.
Making the task easier
Cover the lower rows with a strip of paper so your child can focus on one 3-picture story at a time.
Keep the learning aim, but reduce how much the child has to handle at once. Cover part of the page with another sheet and reveal one task at a time. Demonstrate a separate example, then leave a real opportunity to work something out. An answer reached with support is still a useful attempt; it does not yet show that the same task can be completed independently.
Taking the idea beyond the worksheet
Tell each finished story aloud using the words “first,” “next,” and “last” while pointing to 1, 2, and 3.
Use the follow-up to meet the same idea in a different setting. Offer it once the first task makes sense, without insisting that the whole page must be perfect. The child might explain a strategy, make an example or set a challenge for an adult. Return to the worksheet only when it helps connect the two situations. A short conversation or a practical activity can be enough to finish the session. To continue exploring, use Simple Sentence Reading Comprehension Worksheet: Read each sentence and circle the right answer.
Downloading and printing the PDF
This free PDF contains one worksheet designed for A4 paper. Download the file using the button on this page and open it in your PDF reader. Choose actual size or a 100% scale, check the orientation in the print preview and turn off any browser headers or footers. The illustrations use vector lines, so their outlines stay sharp when printed. Check the margins on one copy before preparing several sheets for a group. The level shown on the page is a guide, rather than a requirement to complete the activity at a particular age.