

What this worksheet helps children practise
Check right angles first and equal-side tick marks second before choosing a shape’s name!
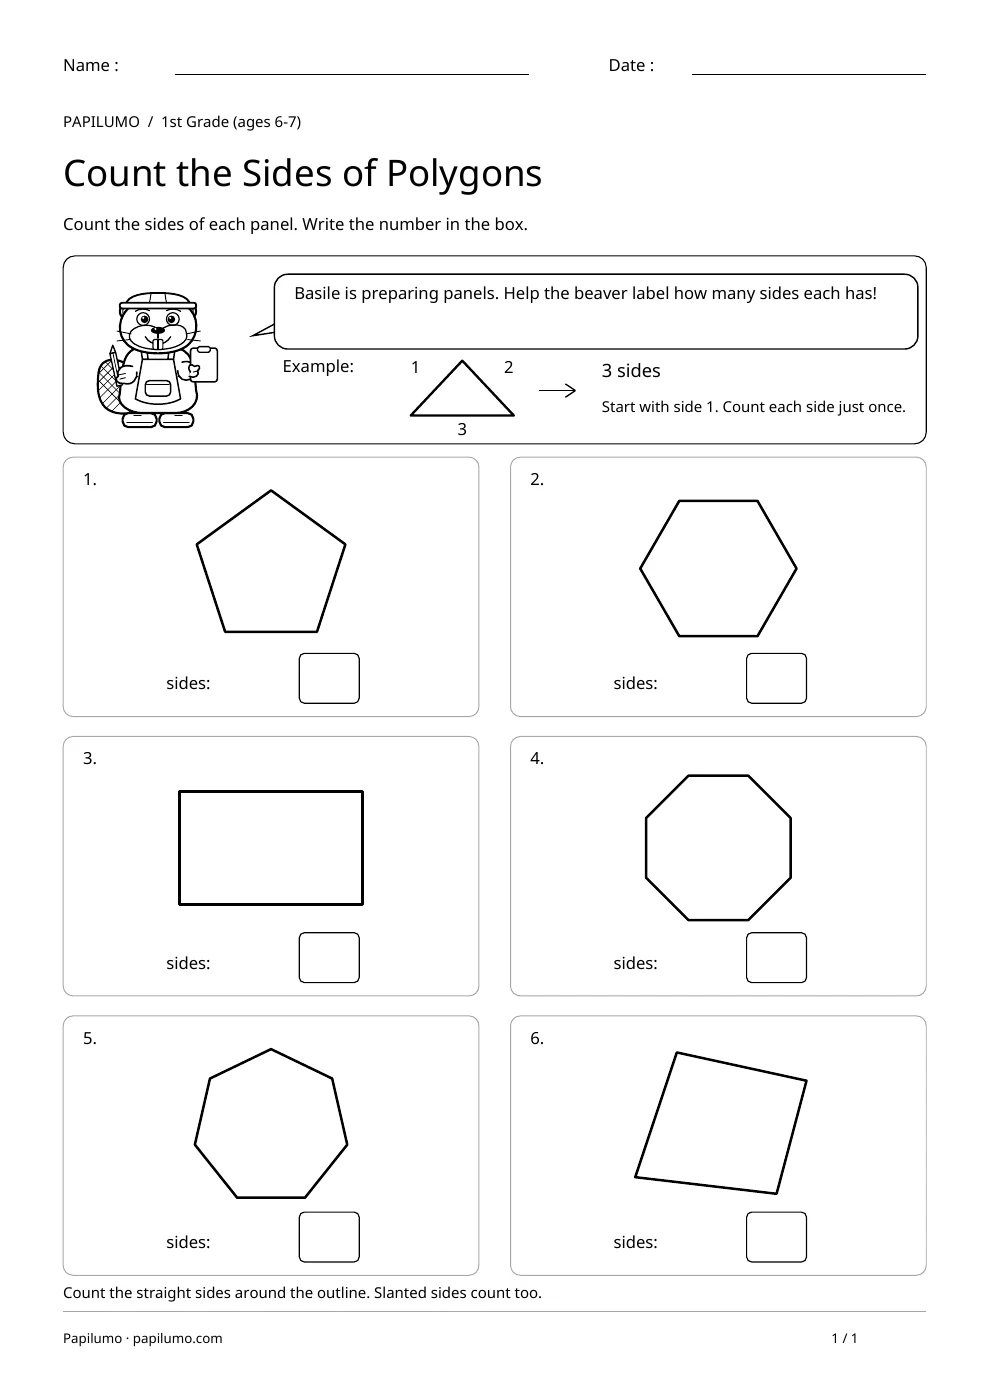
Classifying quadrilaterals in 3rd Grade moves students well beyond informal visual recognition toward logical attribute reasoning. Learners practice checking for four right angles with a square corner, reading single and double tick marks to verify equal side lengths, and spotting single or double parallel arrows along opposite sides. Comparing squares, rectangles, rhombuses, parallelograms, and trapezoids together in one structured workspace builds lasting geometric vocabulary and prepares students for perimeter, line symmetry, and hierarchical shape definitions in upper elementary grades. For a related skill, use Count the Sides of Polygons with Basile: Count the sides of each panel. Write the number in the box.
Preparing a short session
Print the student worksheet at actual size (100%) on plain white letter or A4 paper without shrinking margins, and set out a sharpened pencil, a clean eraser, a straightedge ruler, and optionally a small index card to test square corners. Keep the separate answer key PDF tucked out of sight during independent practice. Before starting Part 1, review Balthazar’s top reference panel together so your child clearly understands right-angle corner squares, equal-side tick marks, and parallel arrow symbols.
A concrete example to get started
In the top guide beside Balthazar the hedgehog, five labeled model shapes make every geometric clue easy to decode at a glance: the square displays four single equal-side ticks and four right-angle squares; the rectangle shows four right angles with matching single and double ticks on opposite sides; the rhombus shows four equal single-tick sides tilted without right angles; the parallelogram marks two pairs of equal parallel opposite sides; and the trapezoid highlights just one pair of parallel horizontal sides.
Supporting the activity
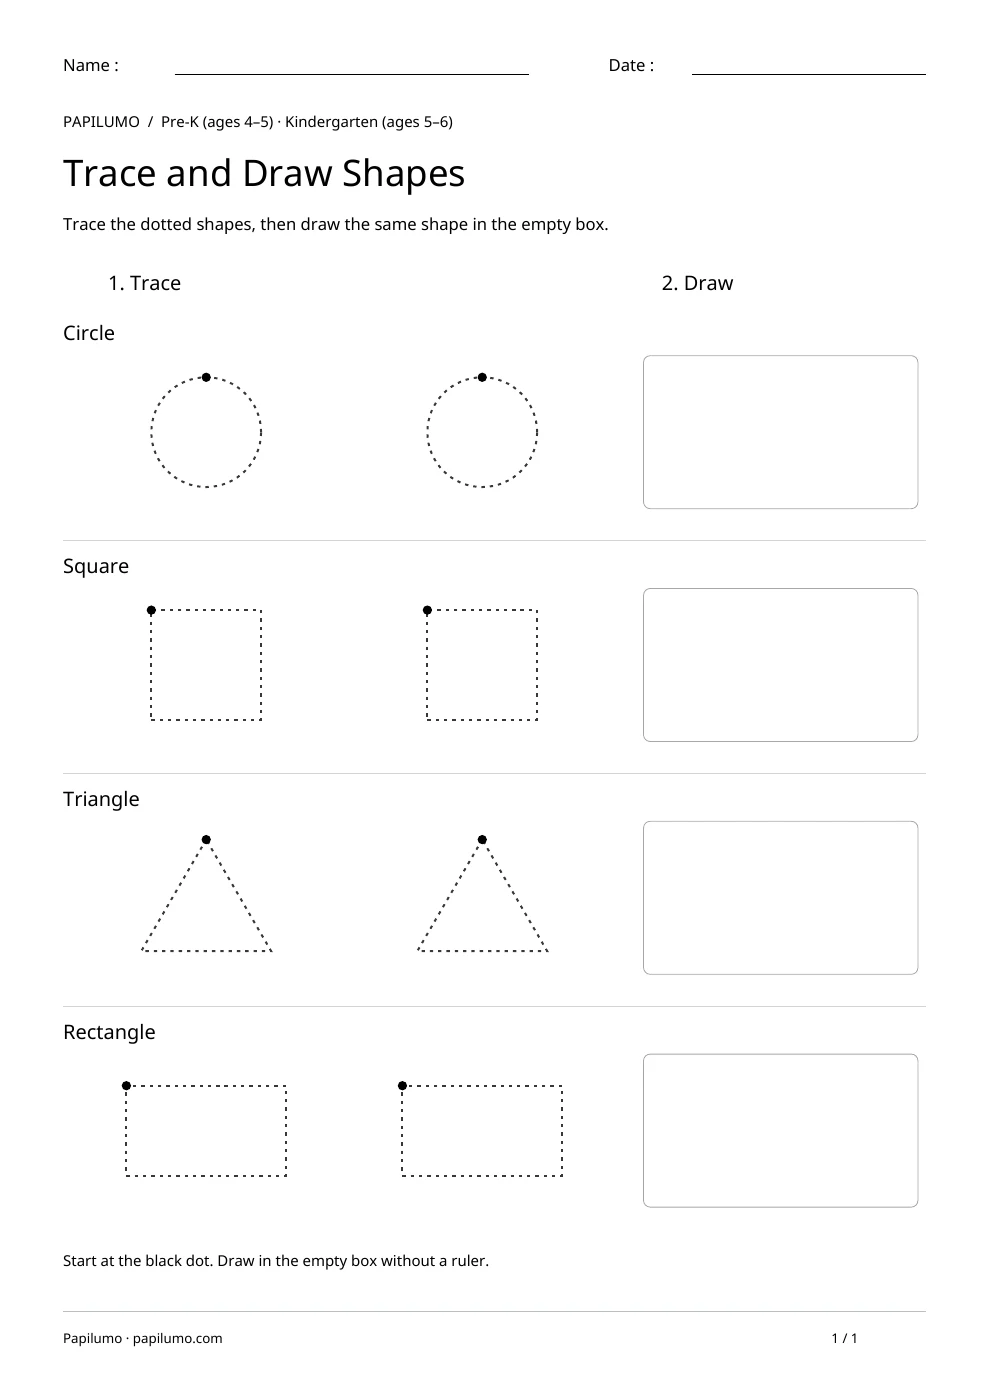
In Part 1, students examine figures A through E and write the matching shape name from the word bank inside each box: Parallelogram (A), Rhombus (B), Trapezoid (C), Square (D), and Rectangle (E). In Part 2, they write Y or N in the twelve table cells across Square, Rectangle, Rhombus, and Trapezoid: 4 equal sides (Y, N, Y, N), 4 right angles (Y, Y, N, N), and 2 pairs of parallel opposite sides (Y, Y, Y, N). In Part 3, they use a ruler to draw two straight segments per dot grid to close the symmetrical rhombus and the 4-by-2 rectangle. To vary the practice, try Trace and Draw Shapes: Trace the dotted shapes, then draw the same shape in the empty box.
What to notice and how to check
When reviewing with the separate answer key, verify first that figure B was named rhombus rather than a tilted square, since it has no right-angle corner squares, and that figure A was not labeled rectangle. In Part 2, double-check the final row carefully: trapezoid takes N because only one pair of opposite sides is parallel, whereas square, rectangle, and rhombus each take Y for having two parallel pairs. On the dot grids, confirm the rhombus meets cleanly at the bottom-center dot and the rectangle closes at the bottom-right corner.
Making the task easier
Trace each pair of parallel arrows with a colored pencil in the top guide before filling in the Part 2 checklist.
Keep the learning aim, but reduce how much the child has to handle at once. Cover part of the page with another sheet and reveal one task at a time. Demonstrate a separate example, then leave a real opportunity to work something out. An answer reached with support is still a useful attempt; it does not yet show that the same task can be completed independently.
Taking the idea beyond the worksheet
Use the Part 2 table to explain out loud why every square is also a special rectangle and a special rhombus.
Use the follow-up to meet the same idea in a different setting. Offer it once the first task makes sense, without insisting that the whole page must be perfect. The child might explain a strategy, make an example or set a challenge for an adult. Return to the worksheet only when it helps connect the two situations. A short conversation or a practical activity can be enough to finish the session. To continue exploring, use Classify Triangles by Sides and Right Angle with Balthazar: Check the side tick marks and right-angle corner markers, then write each triangle’s exact type using the word bank.
Downloading and printing the PDF
This free PDF contains one worksheet designed for A4 paper. Download the file using the button on this page and open it in your PDF reader. Choose actual size or a 100% scale, check the orientation in the print preview and turn off any browser headers or footers. The illustrations use vector lines, so their outlines stay sharp when printed. Check the margins on one copy before preparing several sheets for a group. The level shown on the page is a guide, rather than a requirement to complete the activity at a particular age.